Thanks for your feedback!
EDIT
To add a new API manually, you must click Create API, the icon on the right bottom corner (+). If you just hover your cursor over it, three other options will come up:
You have four ways to create an API, then:
CREATE API: allows you to create an API by inserting the data manually.
IMPORT API DOCUMENT: allows you to create an API by importing a documentation file in JSON or YAML format. See more about the import and accepted specification versions below.
CREATE API GRAPHQL: you can create a GraphQL API by inserting the data manually. To learn more, click here.
CREATE API IDENTITY: you can create an API Identity by inserting the data manually. To see more, click here.
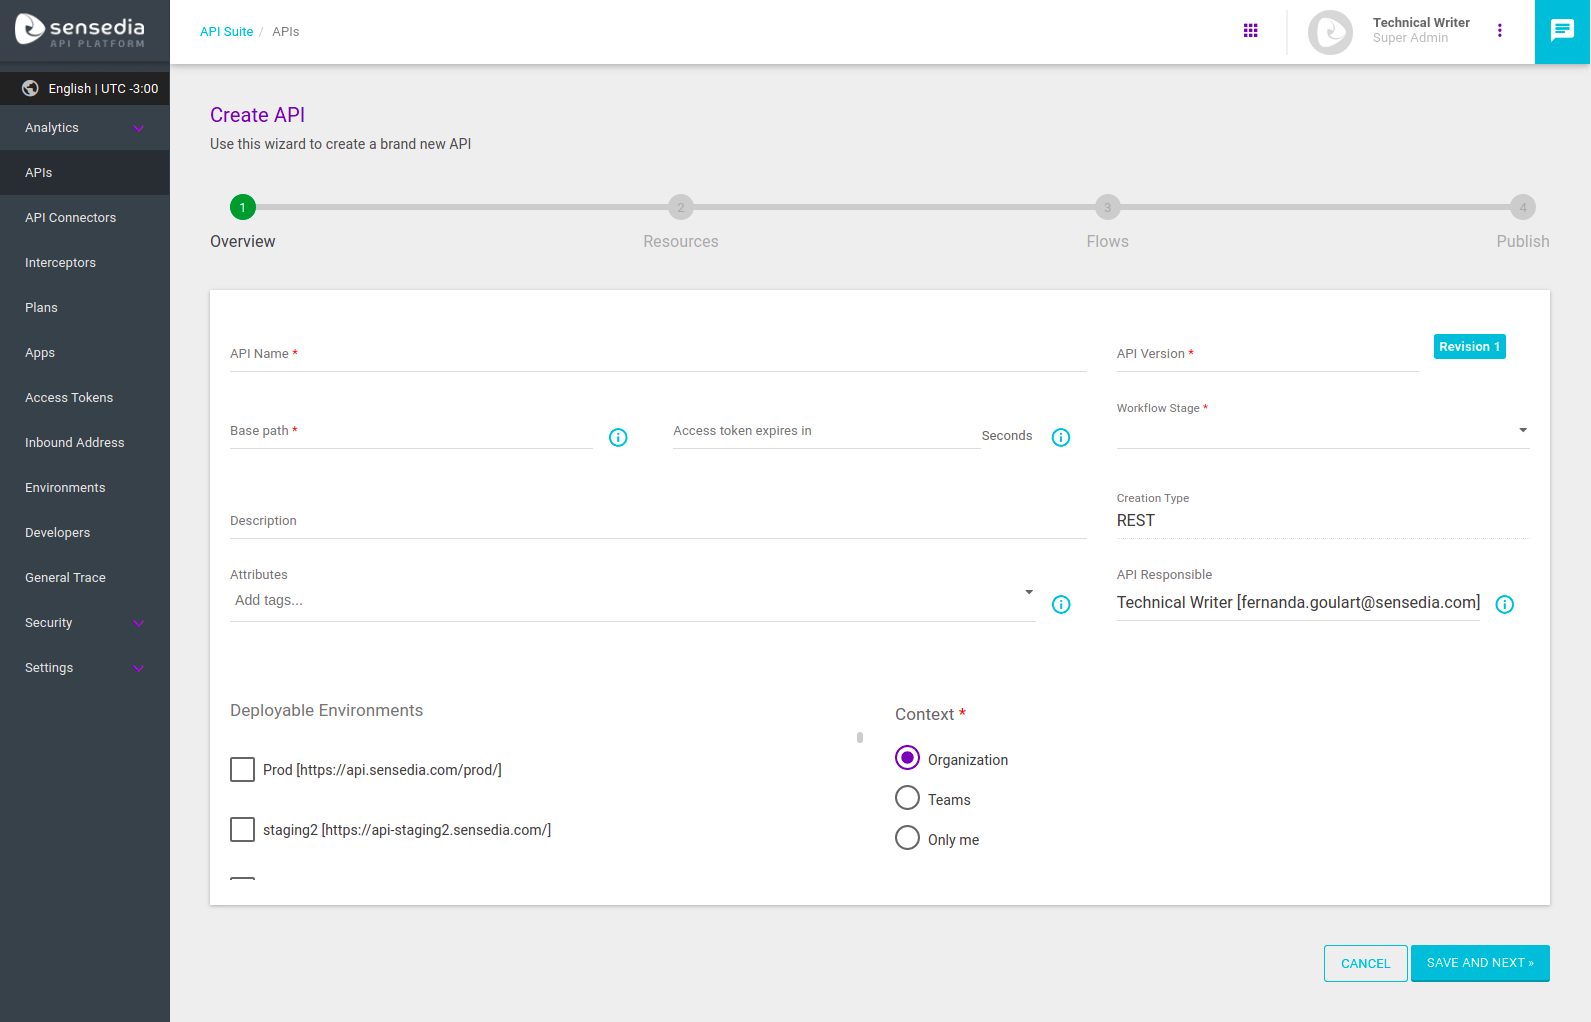
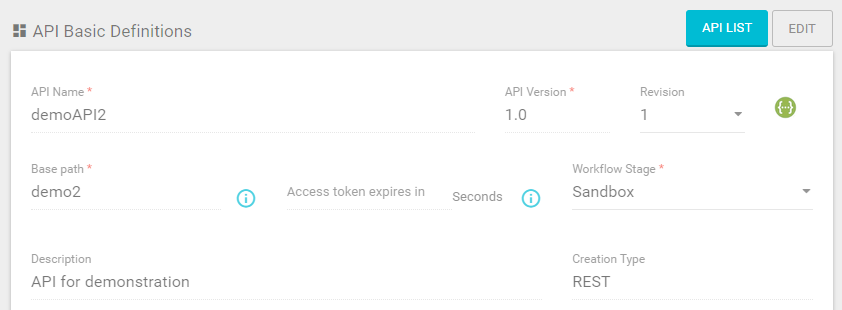
After choosing one of the options listed above, the registration screen will be displayed, and the required fields must be filled (with the exception of importing a Swagger file; in this case, the API is created with all required fields, which can be edited later). The screen to manually set up an API is this:
|
What you include in the field Base path will form part of the API’s URL (which will be complemented by the inbound address and environment the API is deployed to). Other than letters and numbers, these are the accepted characters for the path:
|
If there are environments set up in the Environments page, the option Deployable Environments will be displayed. Otherwise, you might add it later, so it’s not a requirement at this point. To learn more about Environments, click here.
The option Access token expires in determines the token expiration period for a specific API. In case the field is left empty, the default time (10 seconds) will be valid.
The Context field is related to the visibility of your API, which will be displayed only to authorised users. These are the options:
Organization: the API will be visible to all users on the system;
Teams: the API will also be visible to the users who are members of the selected team. To learn more about the creation of teams, see here;
Only me: the API will be available only to its original author;
Add users: the API will be visible to specific users:
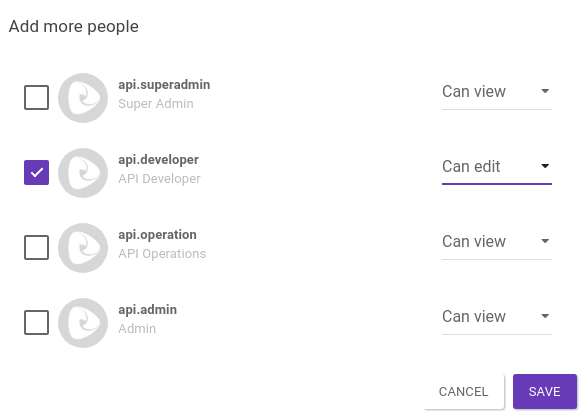
All users available in the API Manager will be displayed. To alter the permission of a specific user, select the user and choose between Can view or Can edit.
Although the Can edit option grants permission to edit API information, this permission doesn’t go beyond the access rules defined in the configurations of the user’s role.
| To configure the visibility options of your API correctly, users and teams need to be registered. To know more about the creation of users, click here; to know more about the different roles, click here. |
The Private API option, when marked, doesn’t allow the API to be accessible for consumption on the Developer Portal.
When clicking Save and next, the basic data of API will be saved. The next two steps (Resources and Flows) are not mandatory (if you import a Swagger file, though, the resources data will be already filled out for you). For more details, access the sections on Resources and Flows.
The last step to create an API is the Publish screen:
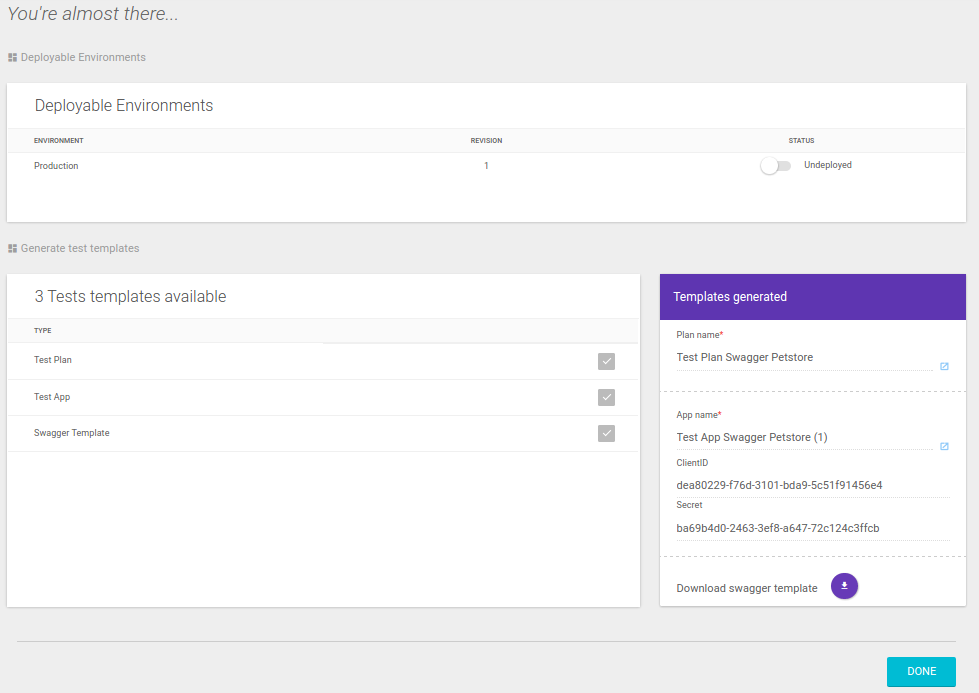
This screen allows the API to be deployed, provided the Environments option has been selected in the beginning of the API creation. It is also possible to create test templates, which generate a plan and an app to be linked to the API you are creating. This option will enable the immediate use of your API.
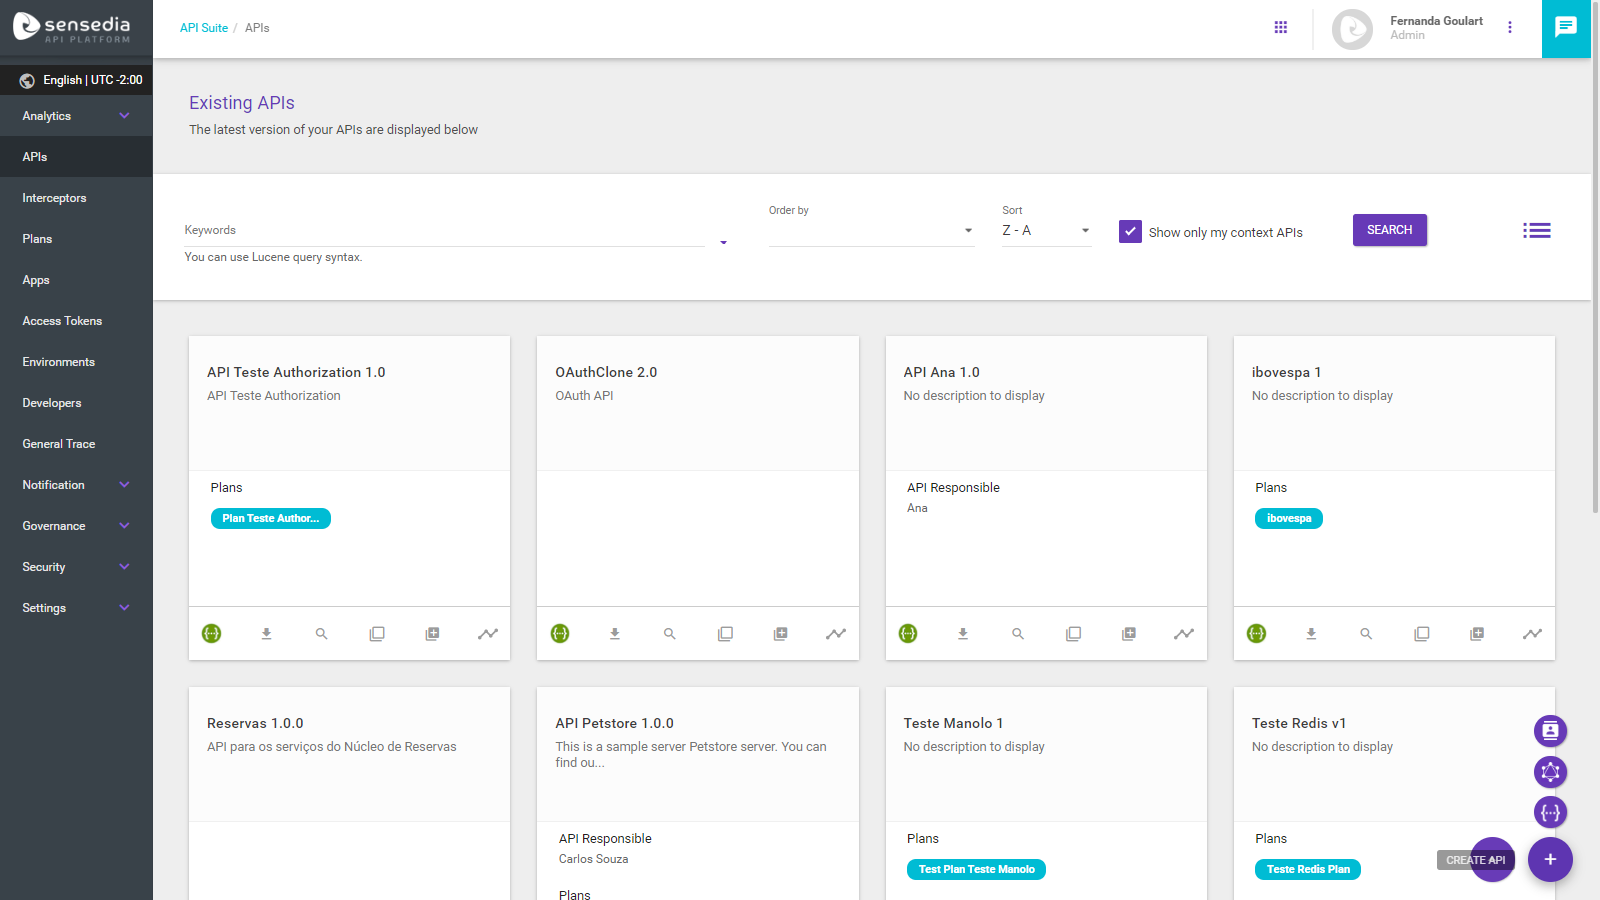
All registered APIs are displayed in cards (read more about the cards here).
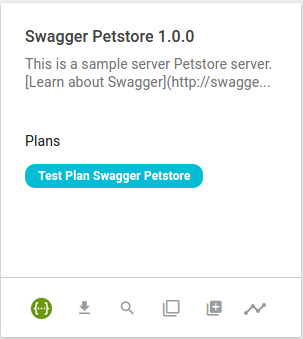
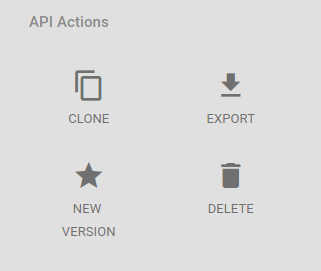
To access the API edition and deletion screen, click the card. You will be redirected to the Overview screen, where data can be edited by clicking the Edit button. On the bottom right corner, you can click Delete to remove the API. Click here for more information about the Overview screen.
You can create APIs from importing documentation files that follow the OpenAPI specification. The accepted versions of the specification are: Swagger 2.0 or OpenAPI 3.0.0.
To do this, hover the cursor over the + button in the bottom right corner of the APIs screen and click on the option IMPORT API DOCUMENT. The following modal window will open:
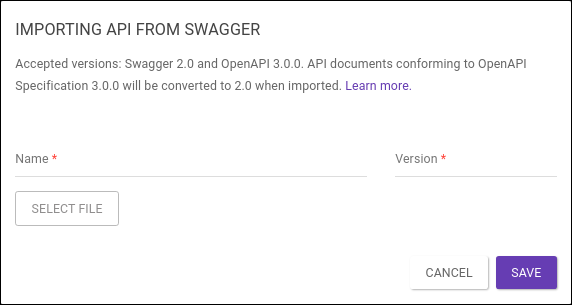
Enter a name and version for the API that will be created and click SELECT FILE to choose a file from your machine to import. Accepted formats are JSON and YAML.
|
If the file follows the OpenAPI 3.0.0 specification, it will be automatically converted to Swagger 2.0 in the import process. It’s important to keep in mind that the converted file will keep everything that is supported by the Swagger 2.0 specification. You can then edit the API documentation — which will follow the 2.0 specification — on the Swagger Editor. This documentation This documentation helps to understand the basic structure of a Swagger 2.0 file. |
Share your suggestions with us!
Click here and then [+ Submit idea]