Thanks for your feedback!
EDIT
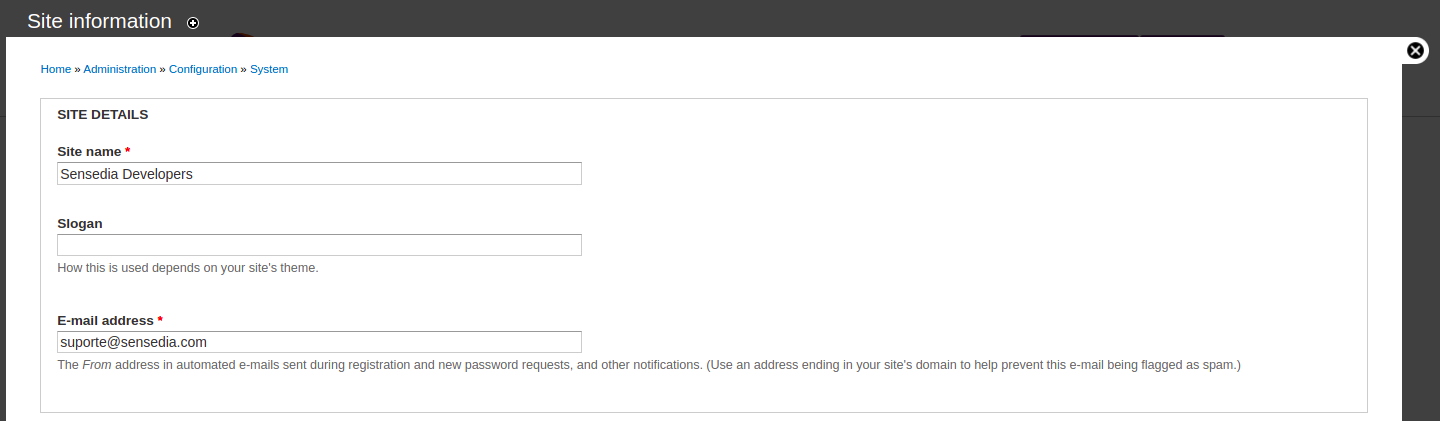
To change Portal information, such as the name that will be displayed in the browser tab when accessing the Portal or the email address (by default, the address is that of Sensedia support), go to .
To upload an image or other files to the Portal, click the User account button and access the tab FILE BROWSER. Then, click on Upload and select the file.
| By default, only the user root has access to the file browser. To allow this access to other administrators, go to and add the permission "User-1" to the "administrator" role. |
The logo is the image used to represent the company’s brand and is displayed on the right side of the Portal’s main menu. There are two ways to change a Portal’s logo: pointing to the URL of an image file in the file browser or uploading a file directly through the appearance settings menu.
A favicon is a small icon displayed next to the website’s name in the browser tab. There are two ways to change a Portal’s favicon: pointing to the URL of an icon in the file browser or uploading a file directly through the appearance settings menu.
A basic page is a screen that makes up part of the Portal’s content, including text, images, tables, links, and other types of content.
To create a basic page, go to , give a title to the new page, add up the content and click Save.
To change the content of a basic page (text, images, tables, etc.), go to the desired page and click on EDIT, just below the title, to open the content editor.
When editing the content of a page, be aware of the text format used (it can be selected in the Text format field of the editor, below the content body). While the "Plain Text" format converts all content to pure text, "Filtered HTML" and "Full HTML" allow the use of HTML tags, but with some restrictions.
| To check the HTML restrictions, click the "More information about text formats" link next to the field Text format. |

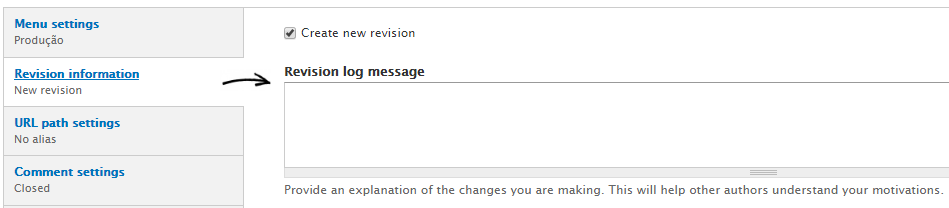
A revision is a backup of the contents of a page. To save a new revision, go to the content editor (), click the tab Revision information, flag the Create new revision checkbox and save the page.
To revert a page’s content to a previously saved revision, go to the desired page, click on REVISIONS, just below the title, and select the revision you want to restore.
Blocks are content boxes located in specific regions of a page. A block can be configured to be displayed only when it meets certain conditions (e.g., a given block may be seen only by registered users).
To create a new content block, go to . Add a title, a description and the content, define display restrictions in the area Visibility settings and click on Save block.
To modify the content of a block, go to and select the block you wish to change.
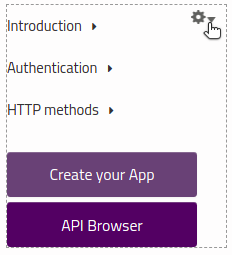
Optionally, by browsing a page where the block is displayed, the block editor can be accessed through the gear-shaped icon in the upper-right corner of the block itself:
| The text format rules regarding basic pages also apply to the content of a block. |
To change the region of a block (i.e., where it will appear on the screen), go to , find the block you want to configure in the list and, next to its name, in the column REGION, select where the block will be displayed.
Optionally, click the gear-shaped icon on the upper right corner of a block (on a page where it’s displayed, like in the image below) to go to the setting page and, in the section REGION SETTINGS, select the region under the Coworker field.
For a visual demonstration of the disposition of regions on the screen, click on Demonstrate block regions in .
To change the display constraints of a block, go to , find the block you want to modify, and click on Configure, under the column OPERATIONS (alternatively, click on the gear-shaped icon next to a block’s name on a page where it’s displayed). In the settings window, adjust the options of the section Visibility settings.
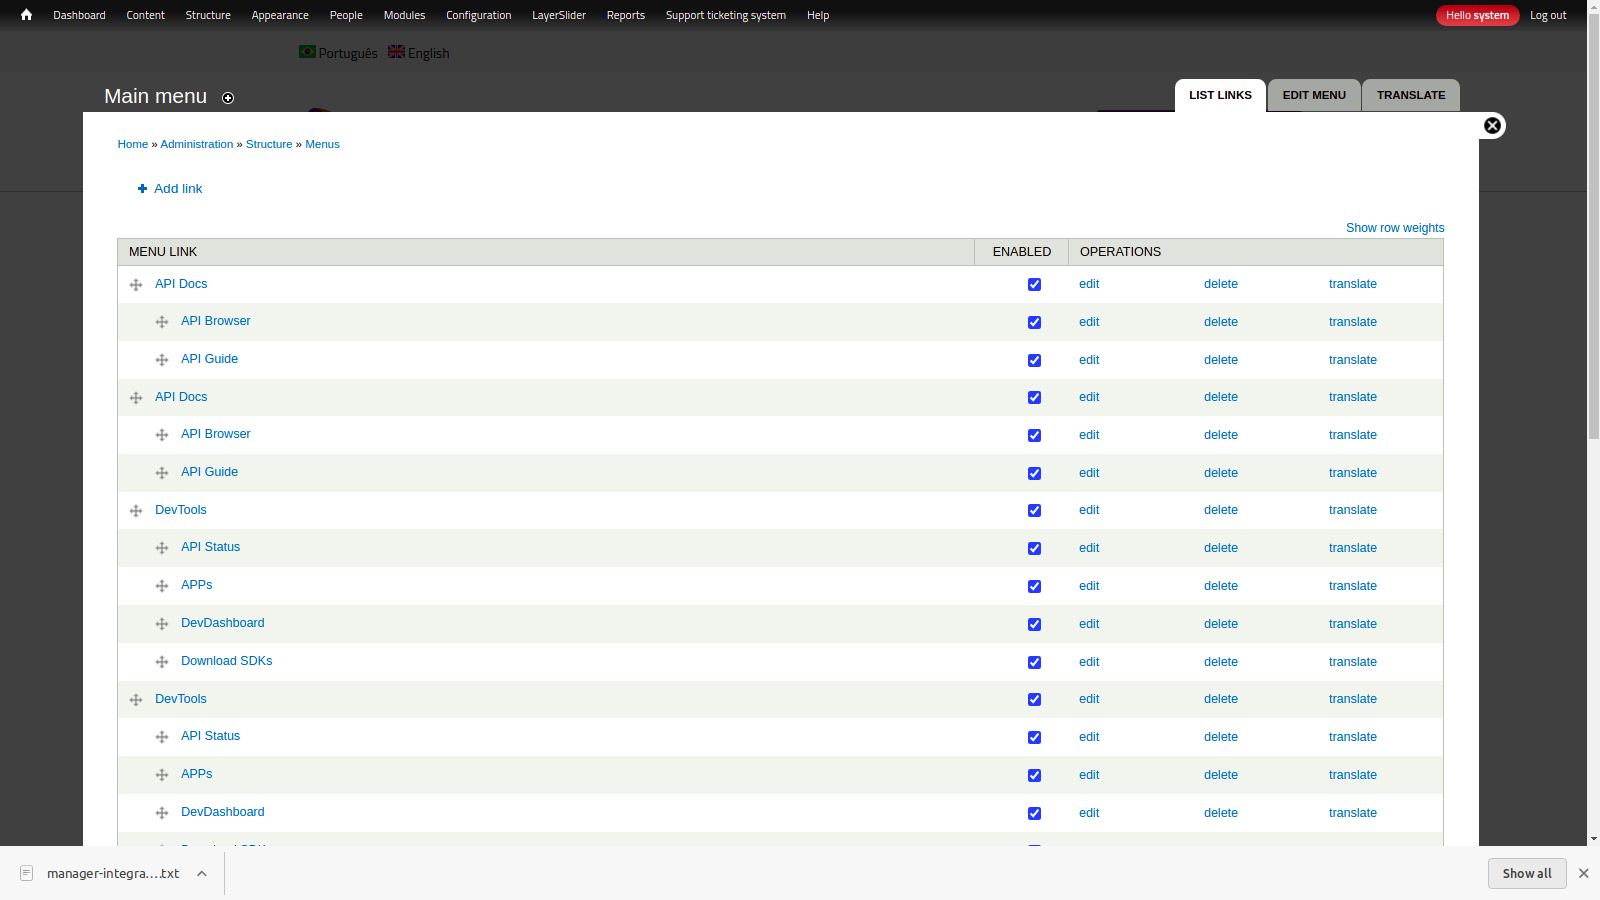
To change the structure of the main menu, go to , which will open the menu editor.
To edit or delete a menu item, click the homonymous options in the item’s row, under the column OPERATIONS.
To change the order of links, move the items by clicking the ![]() icon and dragging the item to the desired location.
Remember to save the modifications by clicking on Save configuration.
icon and dragging the item to the desired location.
Remember to save the modifications by clicking on Save configuration.
To create a new menu item, you can click on + Add link, above the list of items. However, we recommend setting up a new link when you create or edit a basic page. To do so, flag the Provide a menu link checkbox in the tab Menu settings.
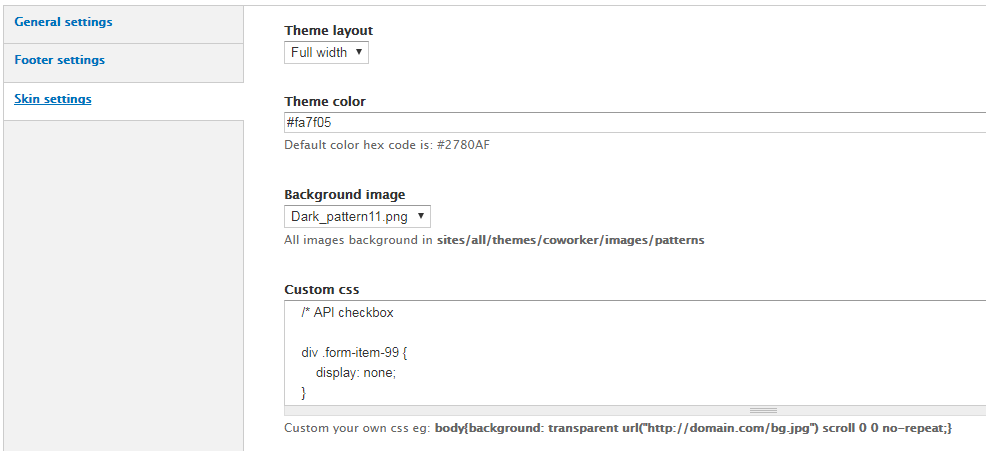
To customise the Portal’s CSS, go to .
In the Skin Settings section at the bottom of the page, make your modifications in the field Custom css.
To change the permissions of a certain type of user (anonymous user, administrator, among others), navigate to and click on edit permissions, under the OPERATIONS column, in the row of the role whose permissions you wish to change.
Certain Portal elements can contain versions in different languages, which can be switched by the user according to their preference.
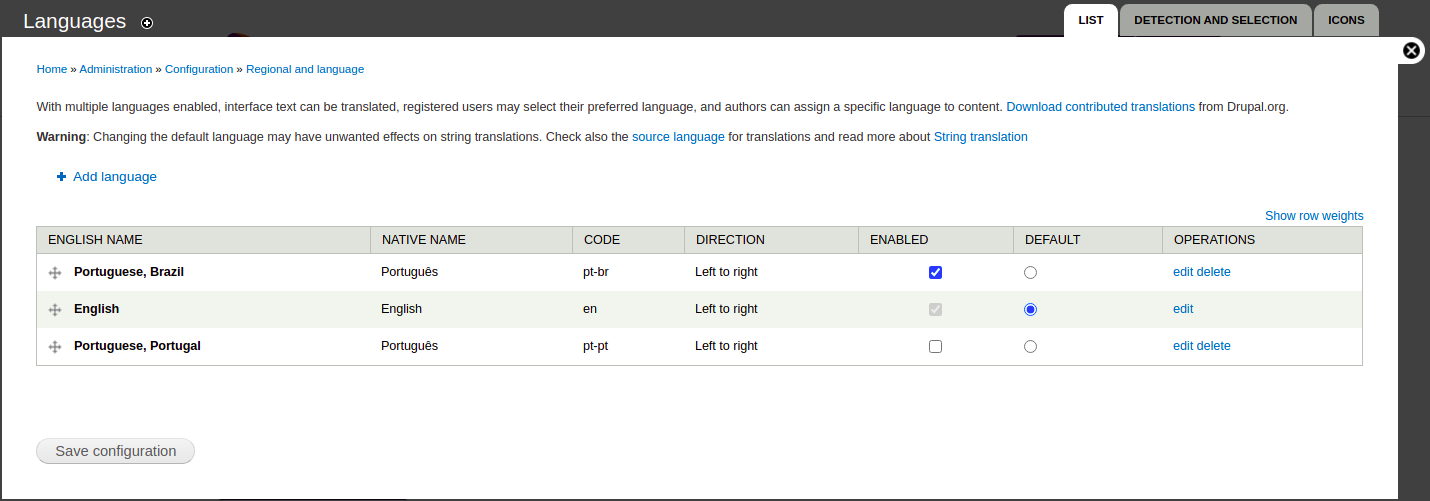
To add new languages to the Portal, go to and click on + Add language.
This configuration screen will contain the options to enable or disable languages already added and to choose the Portal’s default language:
To translate the content of a basic page, go to the desired page and click on TRANSLATE, below the title, which will open the translation management screen. The available languages will be displayed. Choose the language you want to translate the page to and click on add translation, under the column OPERATIONS. This will open the content editor, where the translation must be inserted.
| You can only add a translation to a page if its original version has a specific language attributed to it. To attribute a language to a page, open its content editor () and, in the field Language, select the language instead of the option "Language Neutral". |
To translate a content block, open its content editor and, on the upper right corner, go to the tab TRANSLATE (or click on the option Translate when hovering the cursor over the name of a block on a page that shows it and clicking the gear-shaped icon). Then, next to the language you want to translate it to, click on translate. You’ll be directed to the screen where the new version must be included.

| If there’s no TRANSLATE tab or option under the gear-shaped icon, take a look at the Languages tab inside the Visibility settings section of a block. The box next to Make this block translatable must be checked for the translation options to be shown. |
The best way to translate a main menu item is to mark the option Provide a menu link in the tab Menu settings of a translated basic page.
Alternatively, go to and click on translate, under the OPERATIONS column and in the row of the desired menu item:
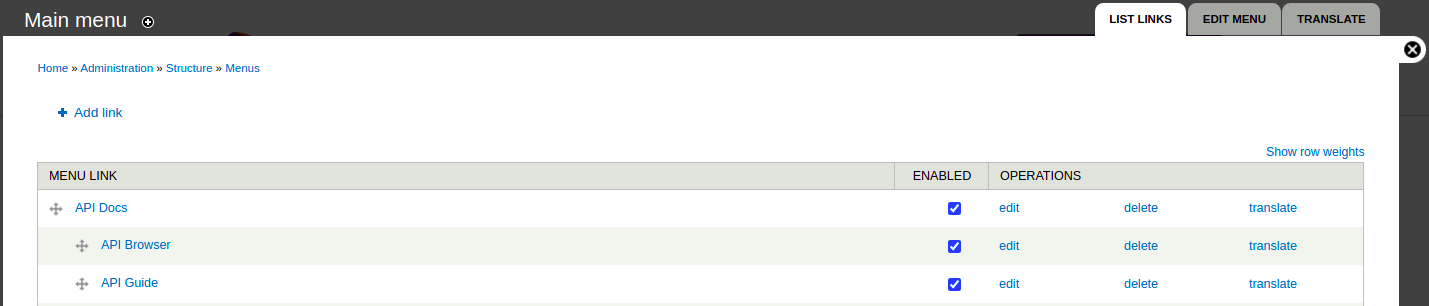
Then, click on add translation (if there is none already configured) or edit (if you wish to change the current translation), under the OPERATIONS column and in the row of the desired language:

This will open an editing screen, where you can insert the translated title and the link to the translated page.
Share your suggestions with us!
Click here and then [+ Submit idea]