Thanks for your feedback!
EDIT
The Users page confers control over all the users registered on the system.
In addition to the list of registered users, you can include new ones and edit, block or delete existing users.
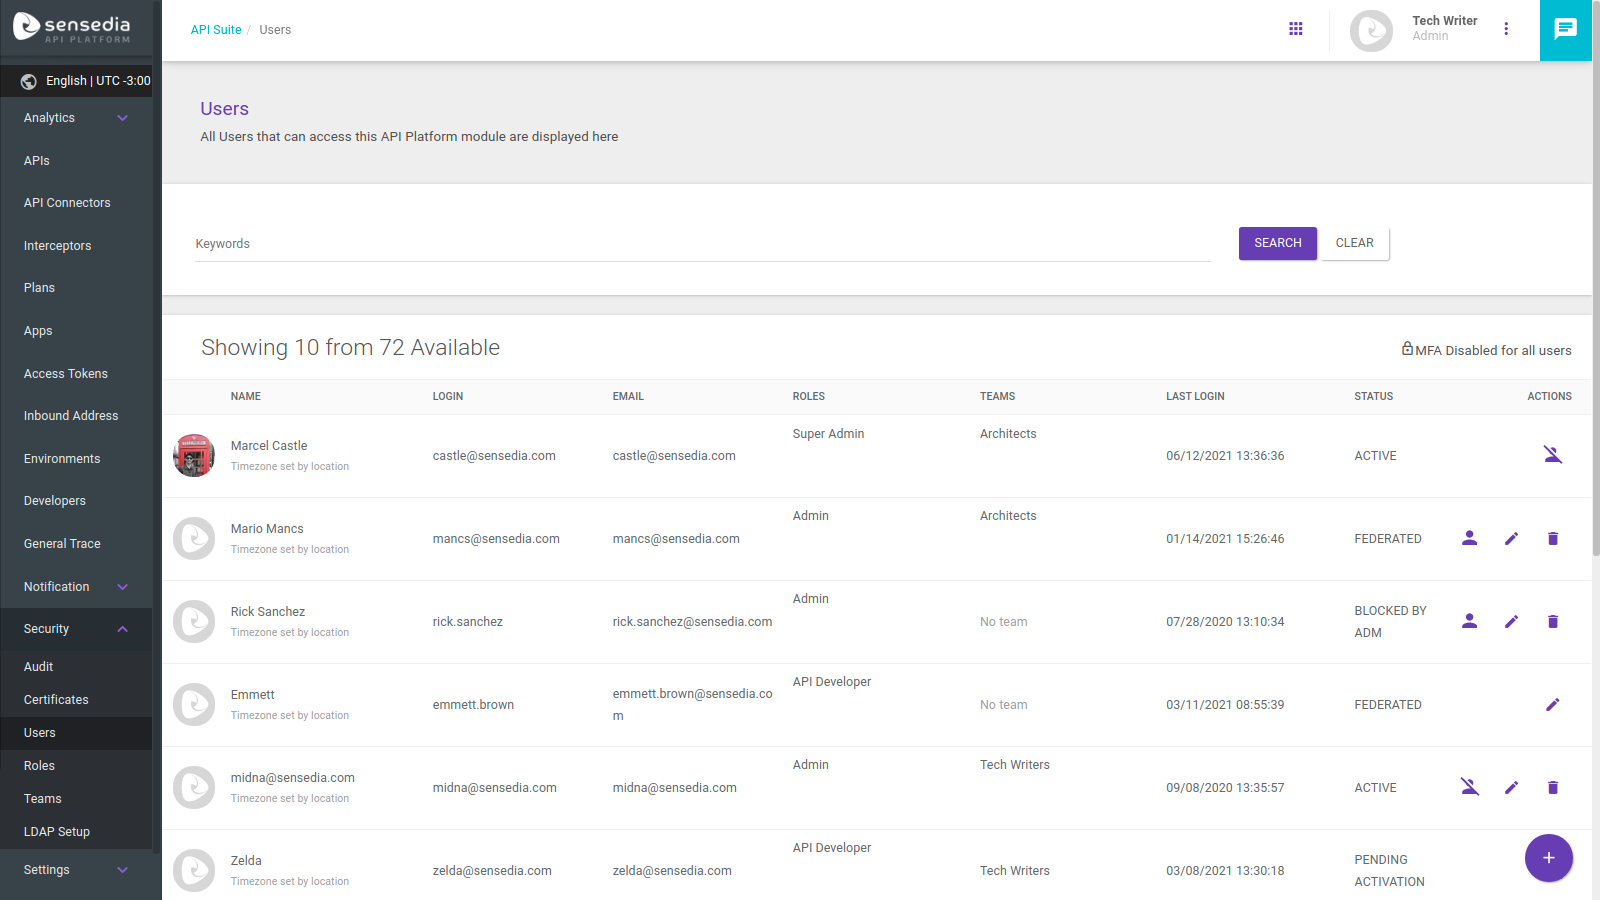
As you can see in the image above, the list of users contains some pieces of information:
User name, login (used as access credential alongside a personal password) and email.
Time zone in which the user accesses the Manager — it can be set manually or automatically from user location.
User role, which means the group of access permissions to the different Manager functionalities that applies to the user.
Teams that the user belongs to.
Last login, displaying the date when the user last accessed the Manager.
User status, which can be: active; blocked by the administrator (see more below); pending activation (if the user has been registered but hasn’t activated their registration via email — see more below); or federated (when the user accesses the Manager using the credentials of a third-party identity provider — see more below).
In addition to this information, there is the Actions column, which allows editing, blocking or deleting a user, and a button to enable or disable Multifactor Authentication.
Above the list of existing users there is a search field where you can look users up by typing keywords.
| The search field allows word compositions (like first and last name) and also parts of a word (as an email server, for instance) to filter users. |
To register a new user, click the Create User button, represented by the + symbol, on the bottom right corner of the screen. A modal window for data insertion will open.
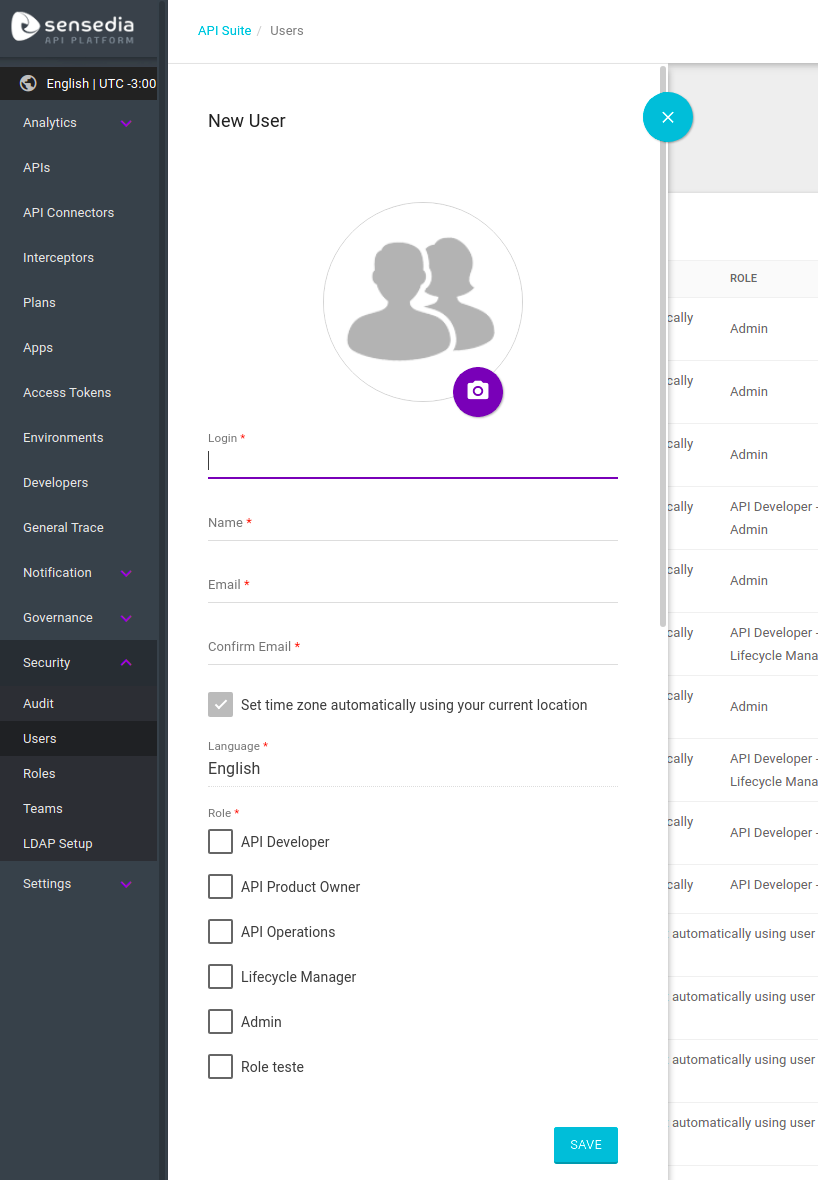
Inform the login (used to enter the system), e-mail and user name (which will be shown next to the user’s avatar when they are logged into the system, as in the image below).

The Roles field will contain the different role options that the user might assume (read more about roles here). You can select more than one role per user.
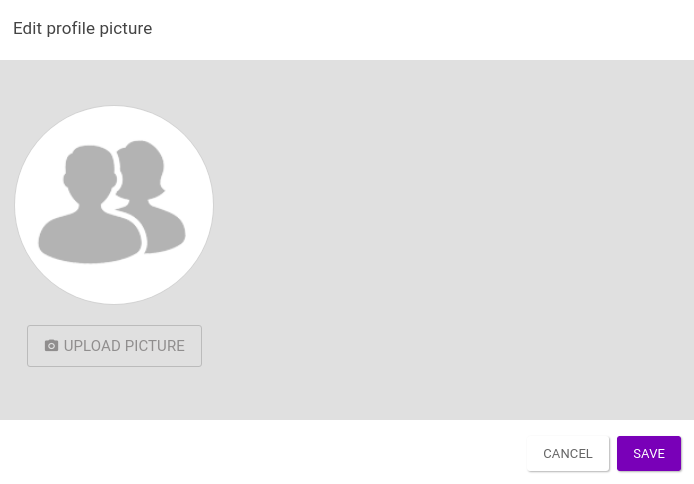
All the fields above are required. In addition to them, an optional picture may be added as the user’s avatar. To do so, click on the camera icon and an upload screen will be displayed.
If you wish to cancel the registration process and return to the list of users, click the X button on the upper right corner of the modal window.
If all the information has been filled in correctly, click Save. The user will be listed with all existing users but its status won’t be active, but pending activation.
| After you save the registration, the user will receive an email sent to the address informed. This email will contain a link (valid for two hours) for the user to activate their registration by inserting a password, and so be able to log into the Manager. |
To modify the data of a registered user, click the ![]() icon on the users list.
This will open a modal window containing the information of the user selected.
icon on the users list.
This will open a modal window containing the information of the user selected.
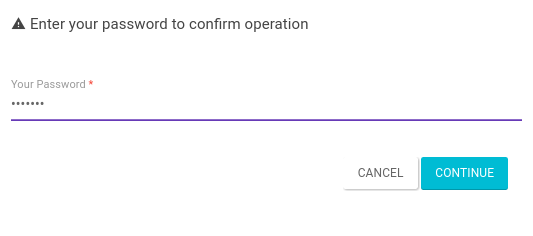
After changing any of the user’s data, you will need to enter your current password to confirm the action. After that, click Save.
| If you alter the login information of your own user, you will be automatically logged out and must log into the Manager with your new credentials to keep on using the system. |
| You can only change your own user’s password. |
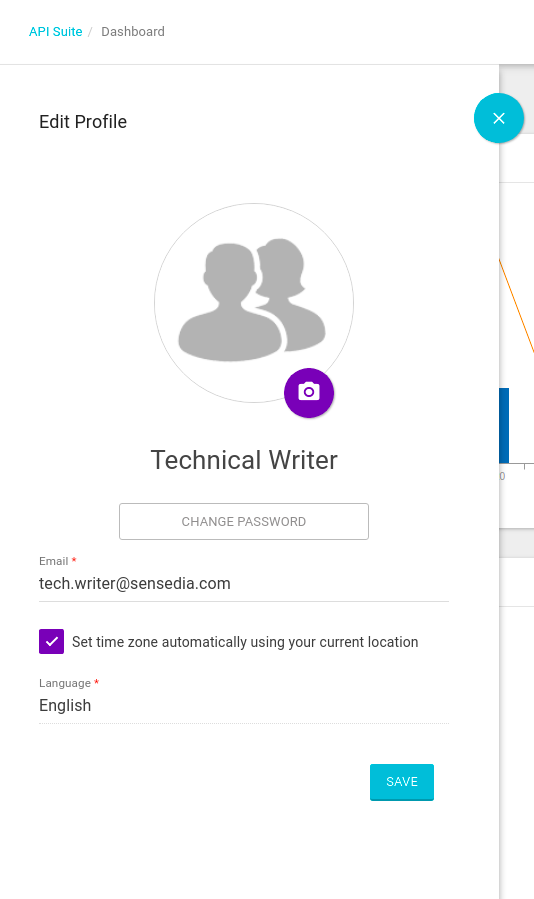
You can’t change the password from the user editing screen. To change your password, click your avatar or your name, on the upper right corner of any Manager screen, as in the example below:
A modal window will open and you can modify your password upon clicking the Change Password button.
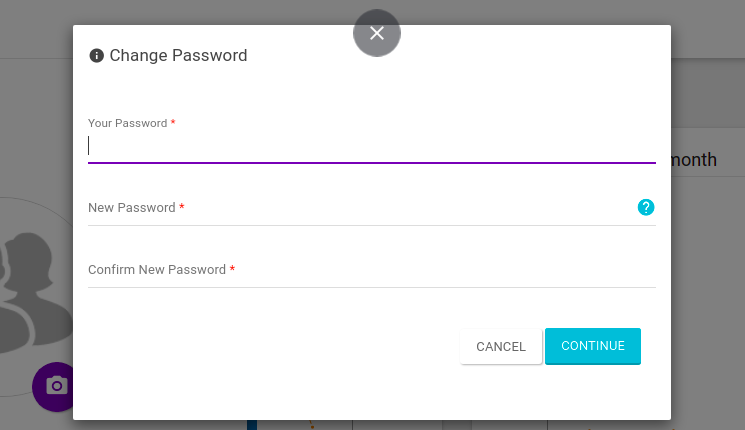
A pop-up window will request your current password and the new one, which must be confirmed. To complete the process, click on Continue.
In addition to the method to edit user data we explained before, you can also change your picture and e-mail address on the modal window that opens when you click your avatar.
If your user has permission to do so, you can block other users.
When a user is blocked, they can no longer access the system. If they are unblocked later, they will receive an email to complete the access process, similar to when a new user needs to activate their registration.
To block a user, click the ![]() icon on the row of the target user on the users list.
You must inform your password to confirm the action.
icon on the row of the target user on the users list.
You must inform your password to confirm the action.
The complete remove a user from the Manager, click the ![]() icon on the row of the target user on the users list.
You must inform your password and then click Ok on the second confirmation screen.
icon on the row of the target user on the users list.
You must inform your password and then click Ok on the second confirmation screen.
After the removal, the user will no longer be on the users list and won’t have access to the Manager or any of its resources. If the same user needs to be given access again in the future, they must be registered from scratch.
Federated users are those who log in to the Manager through a third-party identity provider (with an active SAML connection on the Integrations screen — see more about this here).
When a SAML connection is active, users will no longer be able to log in using the credentials they had registered on the Manager, but only through the third-party provider. Once they log in to the Manager, their status will be "Federated" (and displayed under the column STATUS of the list of users). The role that these users already had will be maintained (but can be replaced any time by editing the user).
Users that hadn’t been previously registered on the Manager will be able to log in through the identity provider and will be automatically added to the list of users with status "Federated". They will be assigned the role "API Operations" but a different role may be chosen when editing each user. If the role "API Operations" has been deleted on the Roles screen, it will be automatically recreated whenever a new user logs in through an identity provider for the first time.
Federated users can be neither deleted nor blocked. Their info may, however, be edited (with the exception of their email address).
If the SAML connection is deactivated at any time, the federated users (regardless of whether they have been registered before or after the integration has been activated) will not be deleted from the Manager, but will have their access blocked until a password is created/reset — which can be done through the link Forgot your password? on the login screen.
Multifactor Authentication (MFA) requires users to define a second authentication factor, in addition to login and password, to access the Sensedia API Platform Manager.
You can enable or disable MFA whenever you want, clicking the button on the upper right corner , right above the list of existing users (see image below)

The button is accompanied by a text stating the MFA status, either enabled or disabled for all users.
When enabled, users will receive instruction on how to proceed as of their first access.
| If there is an active SAML connection with an external identity provider, the login is no longer the Manager’s responsibility and, therefore, there will be no option to enable MFA. |
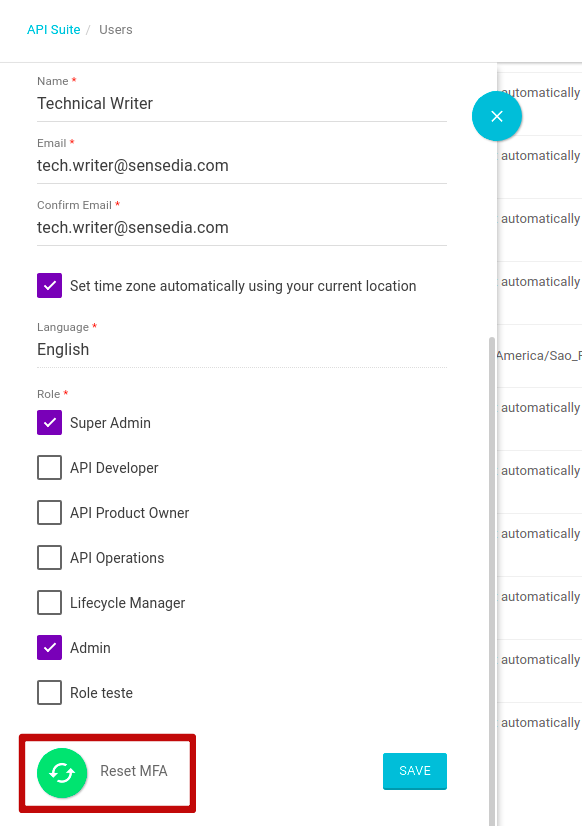
If for some reason a user can no longer perform the second MFA phase, it’s possible to reset this setting, so it is restarted upon the user’s subsequent access.
To redefine the MFA setting, you must have the Super Admin role or another that contains multifactor authentication permission; otherwise, you should ask a user with such permissions to perform the change.
The Reset MFA button is found on the bottom left corner of the user edition window.
Share your suggestions with us!
Click here and then [+ Submit idea]