Thanks for your feedback!
EDIT
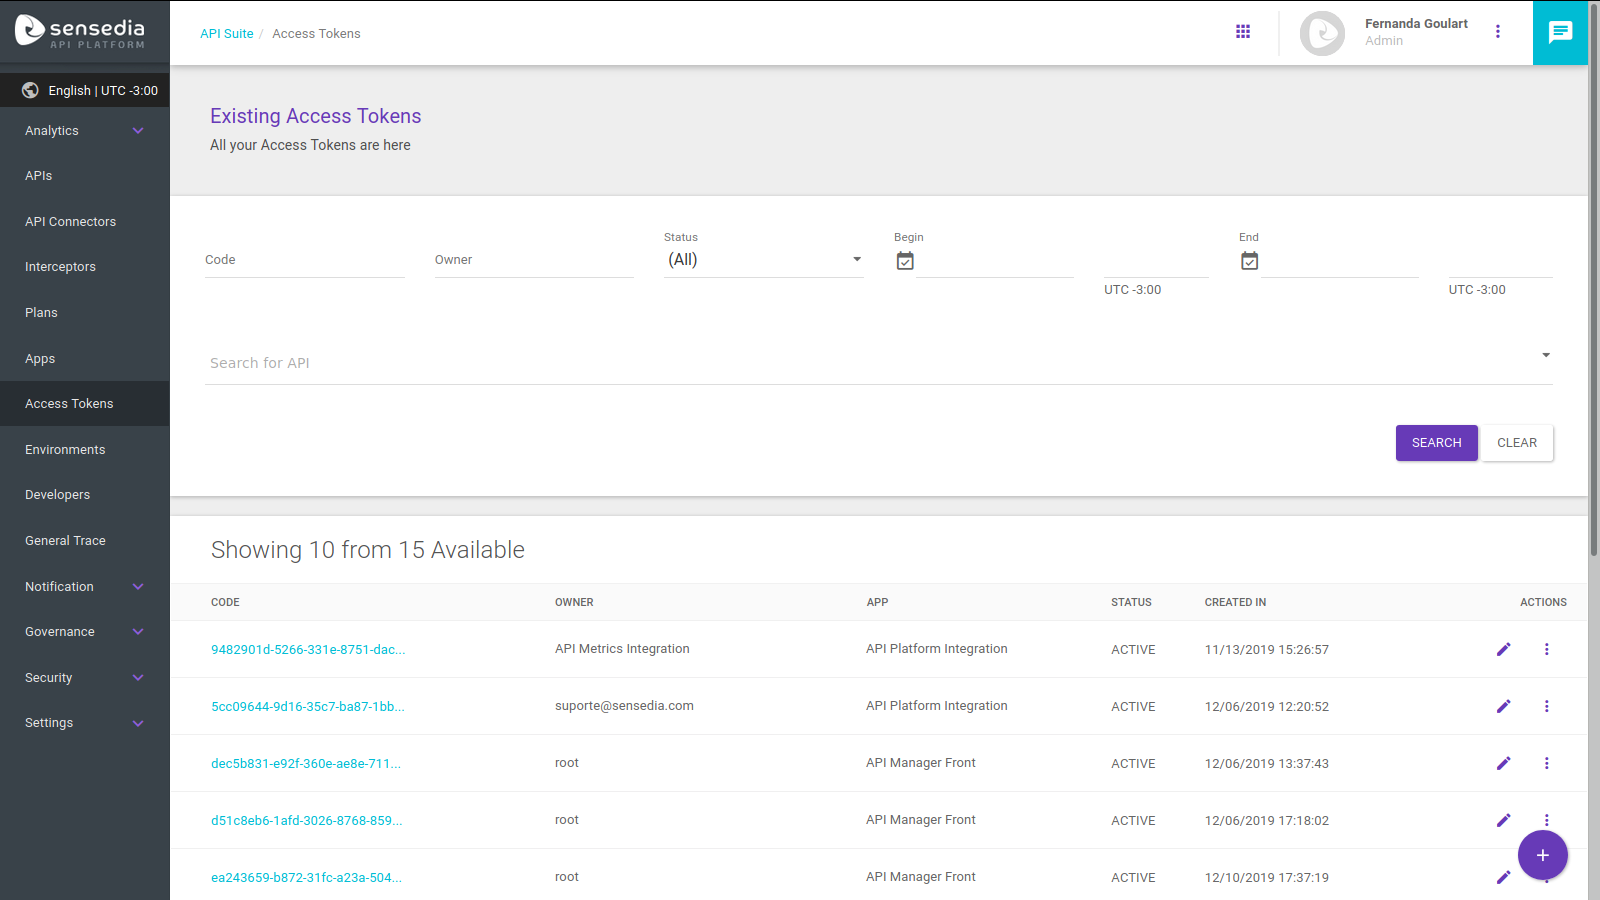
To register a new access token, click the Create Access Token button, represented by the + icon on the bottom right corner of the Access Tokens page. A wizard screen will be displayed to help you through the rest of the process, which involves three stages: Overview, Plans and Summary.
The first is the Overview screen, where the following fields must be completed:
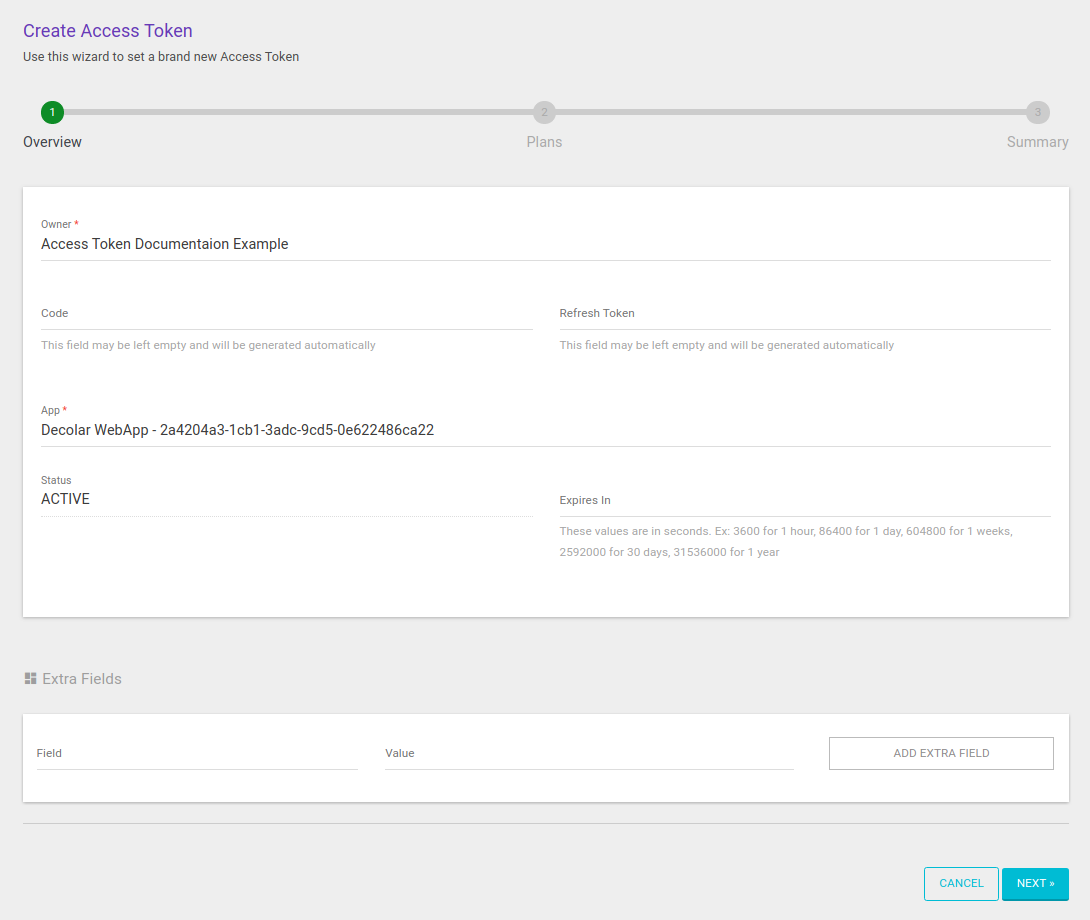
Owner: field to include the token’s owner’s name. For the owner to have access to the code, even if they do not have clearance to access the client secret, it is necessary to inform the user’s login or email.
Code: access code that the token will carry. You can set a value, using a combination of numbers and/or letters, or leave the field empty. In the latter case, the code will be automatically generated.
App: the field is used to link the access token to an existing app. It has an autocomplete function that returns the apps registered on the system to facilitate the selection.
Status: shows the token’s status, which can be active, when it is enabled for use in calls, expired or revoked, that is, disabled for calls. This field cannot be selected when creating or editing a token; the status is automatically attributed (read about how to revoke tokens on the following page).
The subfield Expires in may be left blank, and then either the default system value or the access token expiration value inserted in the registration data of the associated API, if it exists, will be applied. If the value inserted in this field is not the same of the value inserted in the registration of the API, latter will be applied.
Extra Fields: a series of additional fields that may be used to complement the information of an access token.
E.g., if a token has a sellerId or a skuId, these data can be added here.
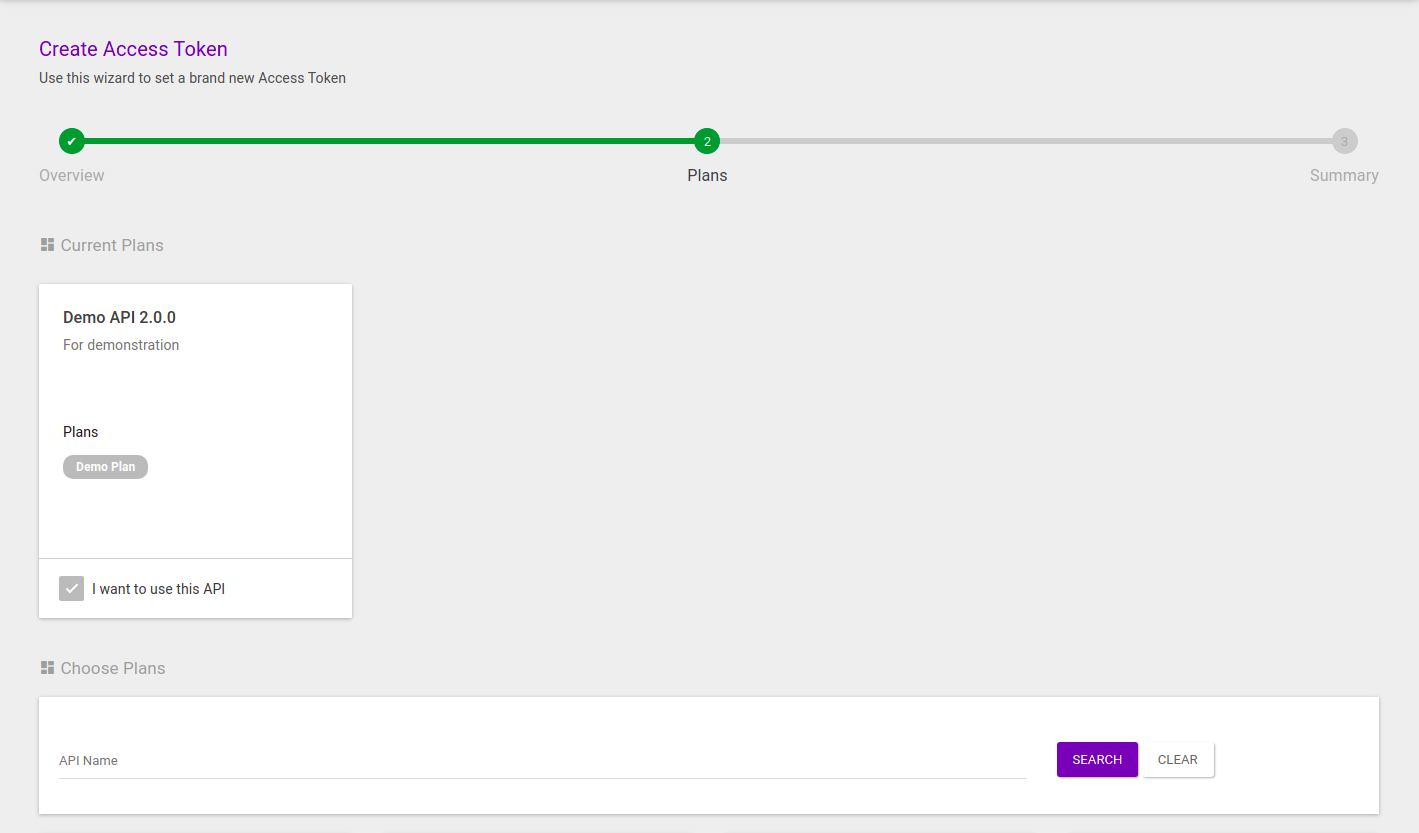
The second step is the association of the access token with an API, via API plans.
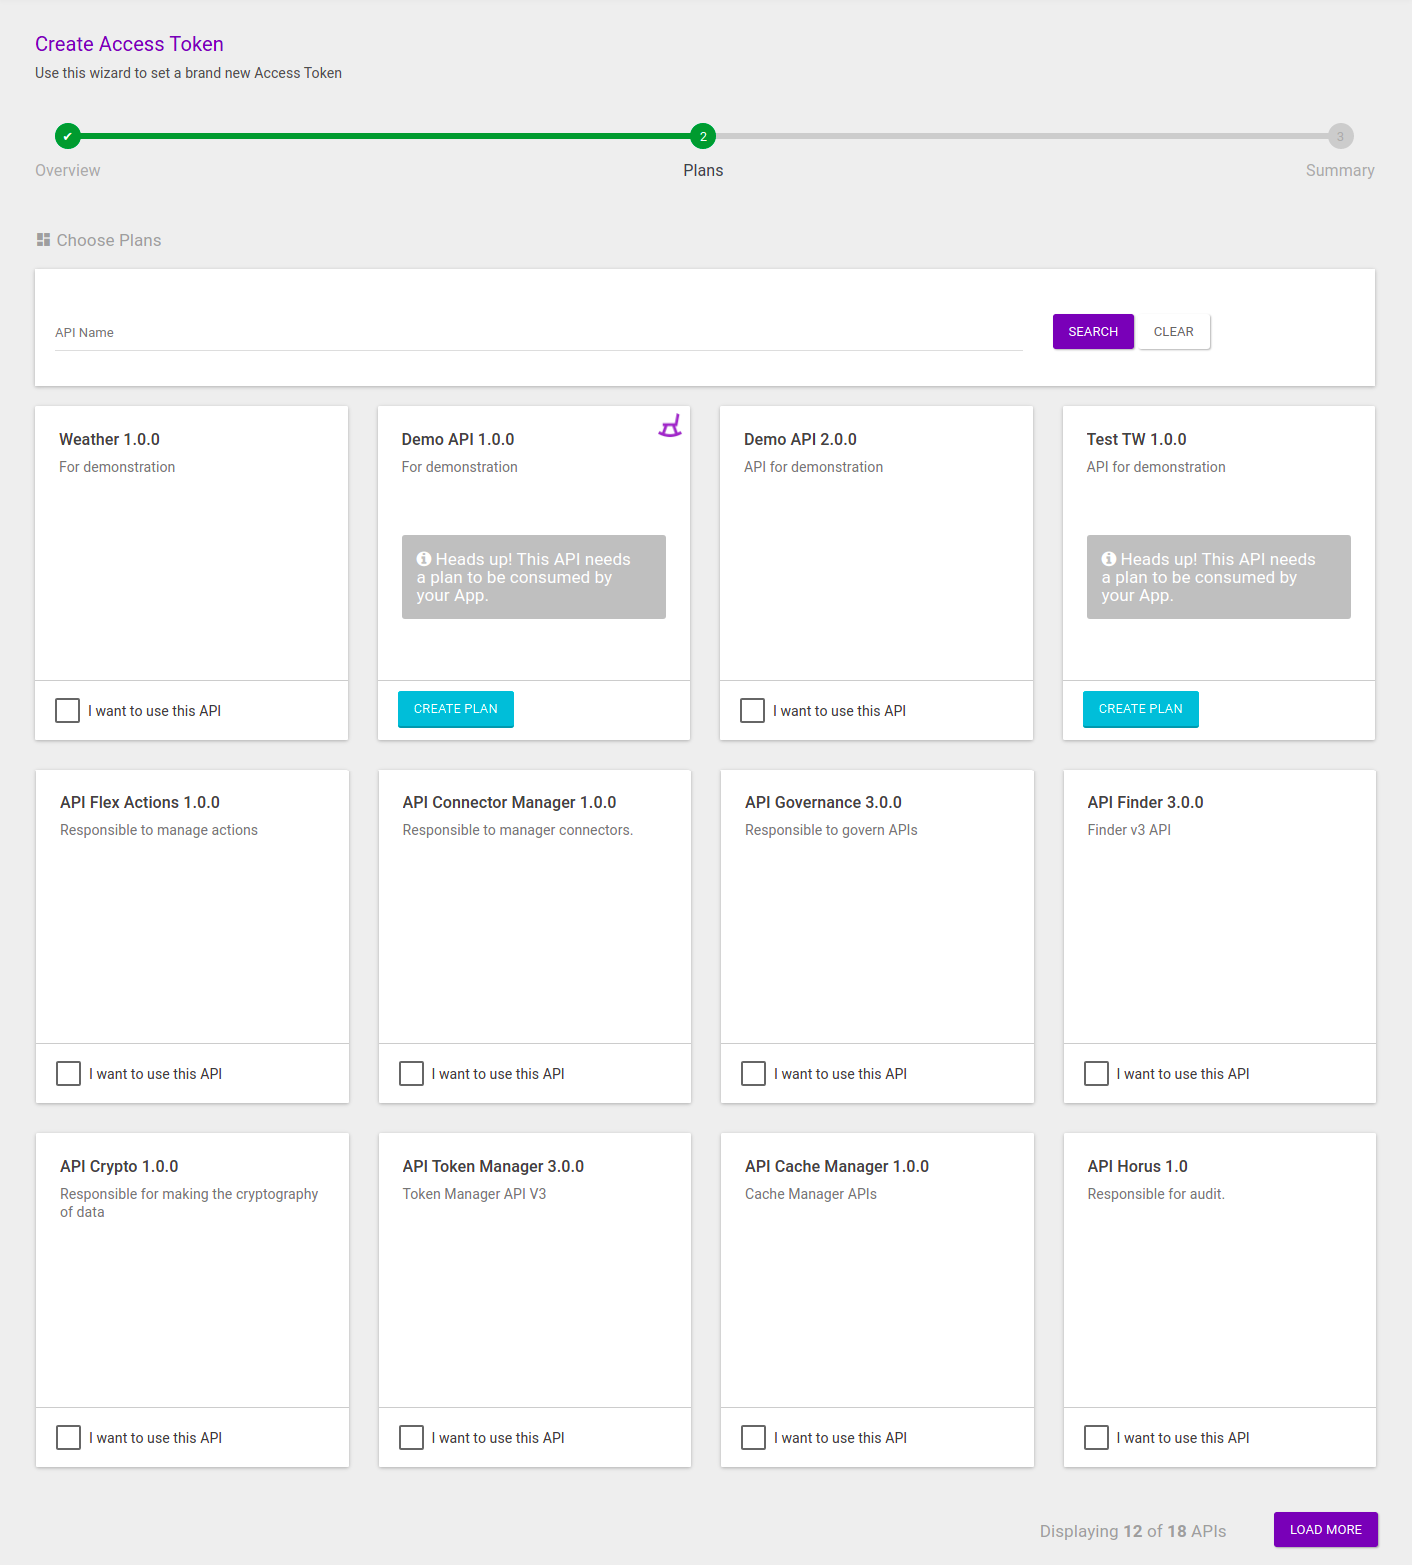
All plans are bound to an API. Therefore, you should select an API first and then the plans the token will subscribe to.
To make it easier for you to select API plans, the APIs which are available on your Manager will be exhibited as cards, ordered by last modification. The screen will contain 12 cards at first, but you can load more APIs by clicking the Load More button, on the bottom right corner of the screen.
You can select an API from the list of cards or use the search field to filter APIs by name, which makes it easier to find the desired API if you there are many registered.
If you wish, you can clear the search by clicking the Clear button. In this case, the cards list will be reset.
Note that the API cards on the list may contain two types of warning:
If you wish to link an app to an API that doesn’t contain any plans, the card will display this message: "Heads up! This API needs a Plan to be consumed by your App". You can click the card’s Create Plan button (on the bottom part of the card). This will take you to the plan creation screen, where the new plan can be linked to the target API.
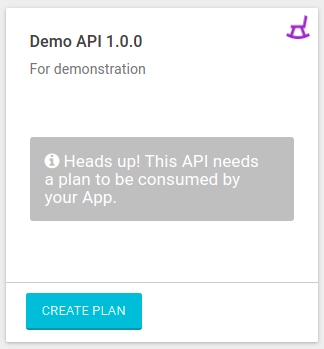
A card will contain the ![]() icon when the API at hand is an older version of another registered API.
icon when the API at hand is an older version of another registered API.
The example card below shows both types of warning:
To select an API, click the button I want to use this API on its card.
Then, the card will show the available plans for you to select. You can pick one or more plans. After choosing the plans, click Save Plan to validate the plan(s) chosen.
If you wish to remove the API you just selected, click the x button on the card’s upper right corner.
You can select multiple APIs for your token.
The selected APIs will be displayed on the Current Plans section above the search field, and their cards will indicate the plans chosen.
|
If no API (and, consequently, no plan) is selected, the token will be created but it will not be able to be used to consume any API. You can link the token to an API at another time, via the token edition feature. In case you select an API without choosing a plan, the API’s default plan will be used after the token has been registered. |
Once you have chosen all desired plans, click the Next button to move on to the last stage of app creation.
After selecting a plan, the system will redirect the user to the third and last step, the Summary screen.
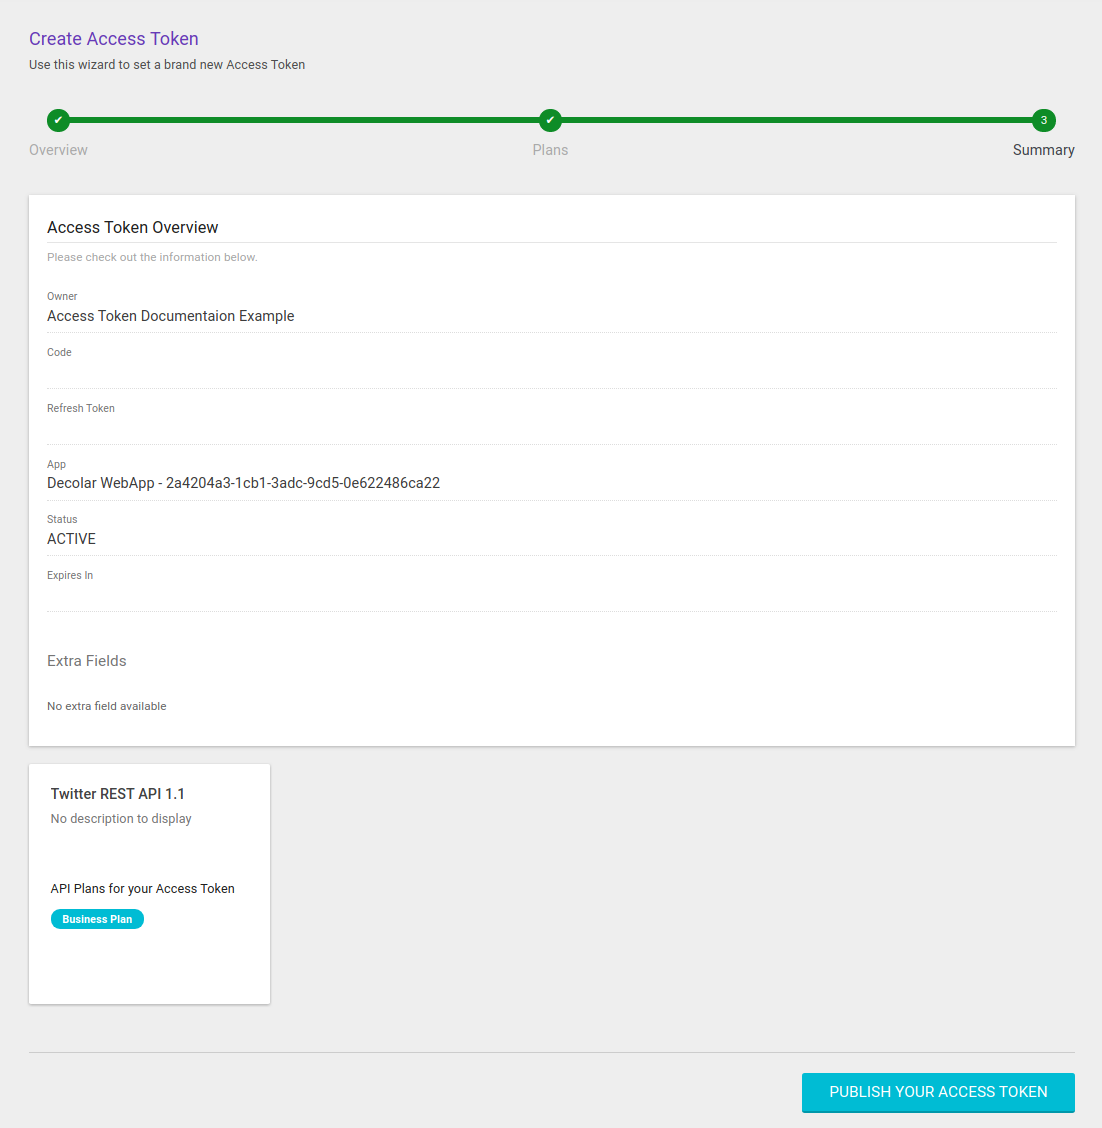
This screen exhibits the data inserted over the previous steps for you to verify them.
If you want to modify any piece of information, click the target creation session on the wizard to make the alteration. If the information is correct, click the Publish your Access Token button to save the data. The new token will be on the list of existing tokens.
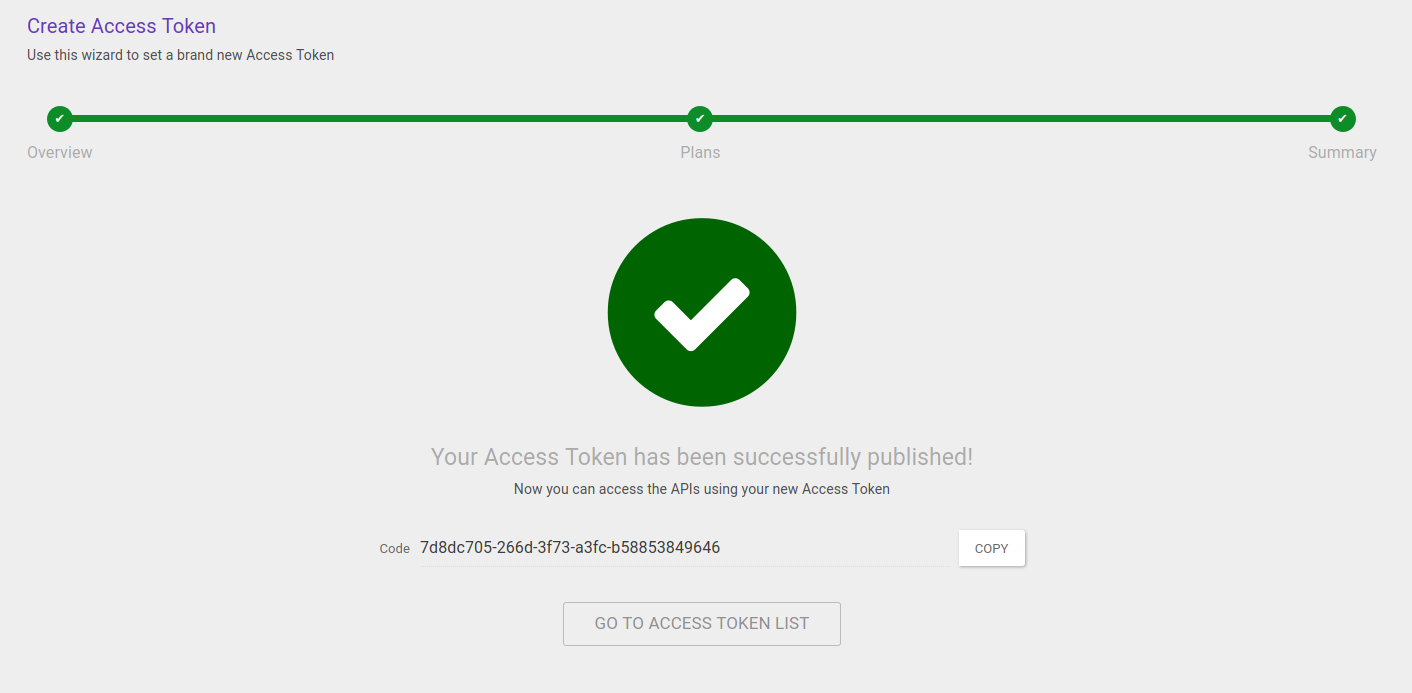
You will be redirected to a success screen exhibiting the token’s access code (whether informed in the registering process or automatically generated). The code can be copied by clicking the Copy button. The Go to Access Token List button directs the user to the existing tokens list page.
Share your suggestions with us!
Click here and then [+ Submit idea]