Thanks for your feedback!
EDIT
The Health Checks feature enables automated testing by calling API resources.
Through a health check, users can verify request and response contents to check whether a given HTTP resource is working well.
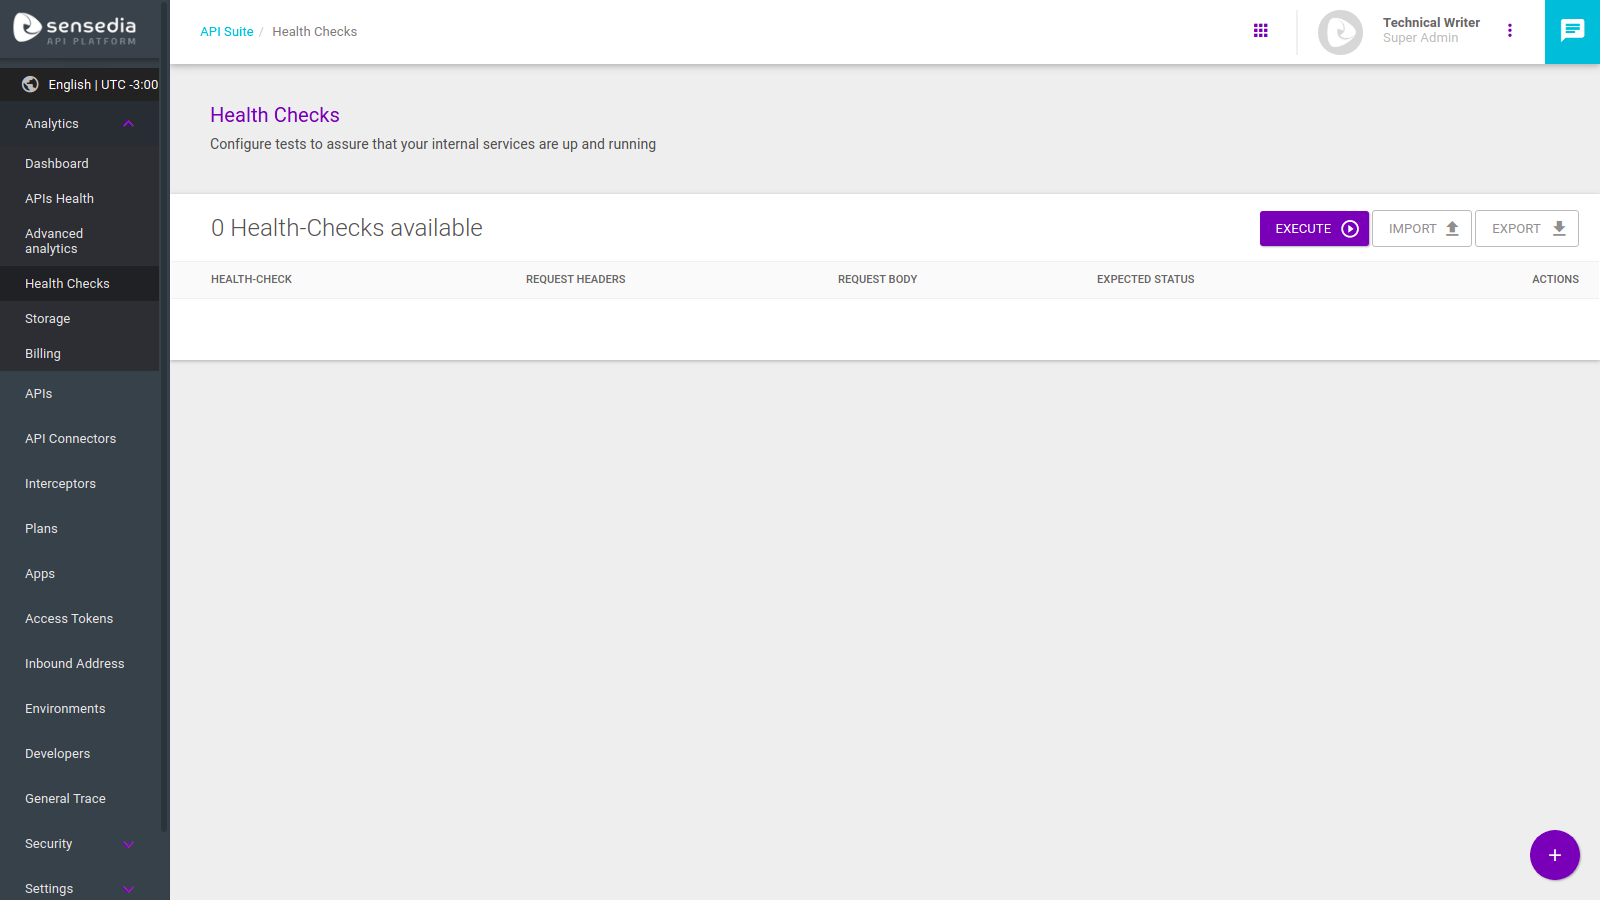
If the user has already registered health checks before, the screen will show all registered health checks, as shown below:
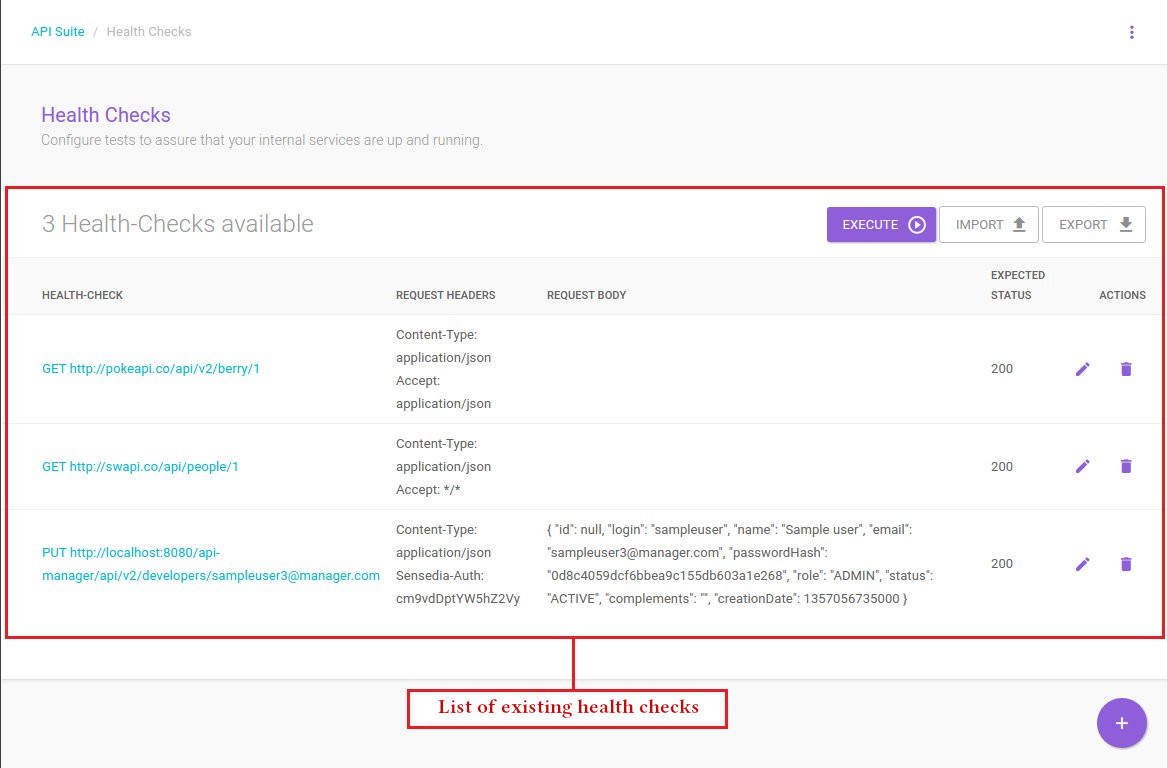
Please note that there are some mechanisms and buttons to consider on the listing screen:
Execute: it runs all health checks on the list. A request will be made to each of the items on the list by executing the HTTP method, using the URL and the request headers and body informed.
Import: it imports previously registered health checks. To perform the importing action, you must upload a JSON file.
Export: it creates a backup file, in JSON format, for later use.
To register new health checks, click the + button to open the registration modal window:
These are the fields to be filled in:
Method: required field to be filled in with the HTTP method that will be called in the execution of the health check. It may be GET, POST, PUT, or DELETE.
URL: required field to be filled in with the URL of the HTTP or API resource that will be used to verify the health check.
Expected HTTP Return Code: it represents the expected HTTP code after the request is executed. If this field is empty, any status value between 200-399 will be considered valid.
Request Headers: insert the header values that will be used during the request to the URL informed, if necessary. Type on header per line.
Request Body: if the method to be executed is POST or PUT, this field can be filled with the contents of the request body that will be used in the health check call.
Expected Body: enter the content that will be used to compare the request result and the expected result after the health check has been executed.
Automatic (every 15 minutes): a checkbox that, when selected, causes the registered health check to run automatically every 15 minutes. Discontinued after Release 1901.1.0.0.
After completing all necessary fields, the user can confirm the registration by clicking the Save button. The new health check will be displayed on the listing screen. To cancel the operation, click the x button.
To edit a record, click the ![]() button to open the health check registration screen containing the information for editing.
button to open the health check registration screen containing the information for editing.
To delete a health check, click the ![]() button.
A confirmation prompt will be displayed. After confirmation, the record will be deleted.
button.
A confirmation prompt will be displayed. After confirmation, the record will be deleted.
To view the results of a specific health check, click any of the URLs on the list. You will be redirected to the results display screen, as shown below:
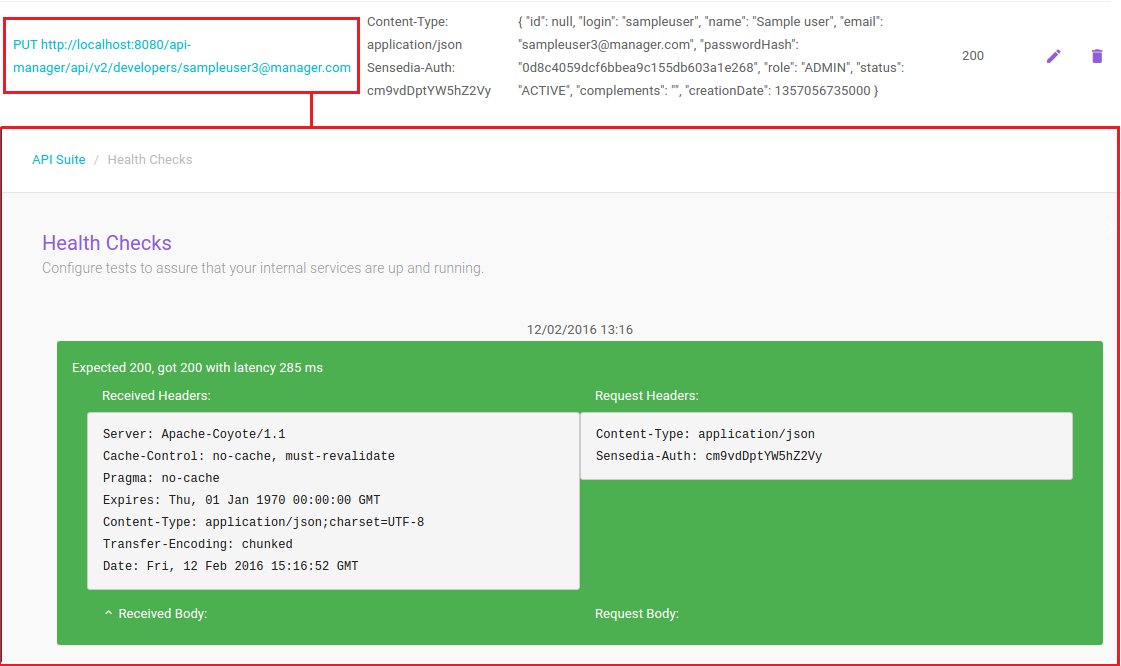
This screen shows an example of a result that is displayed after the selected health check ran. When the result of the execution matches what had been configured previously, the frame has a green background.
This frame displays the information of the request made, such as the request and response headers of the call, as well as the request and response content (via the Received Body and Request Body buttons).
If the health check has an invalid result, the frame will have a red background but display the same information described previously, as in the following figure:
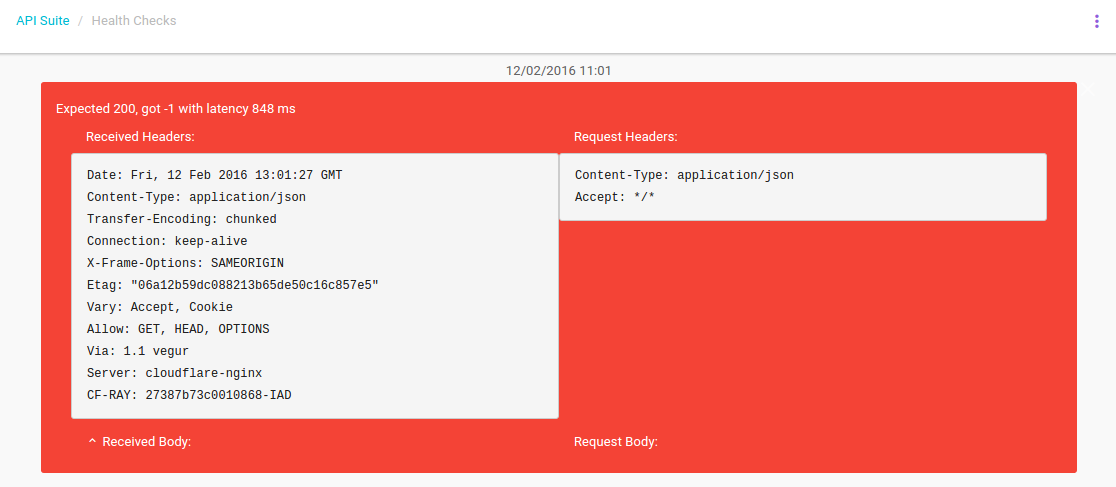
It’s because of these features that the Health Checks visualisation allows for a better monitoring of the HTTP resources that we want to control.
Share your suggestions with us!
Click here and then [+ Submit idea]