Thanks for your feedback!
EDIT
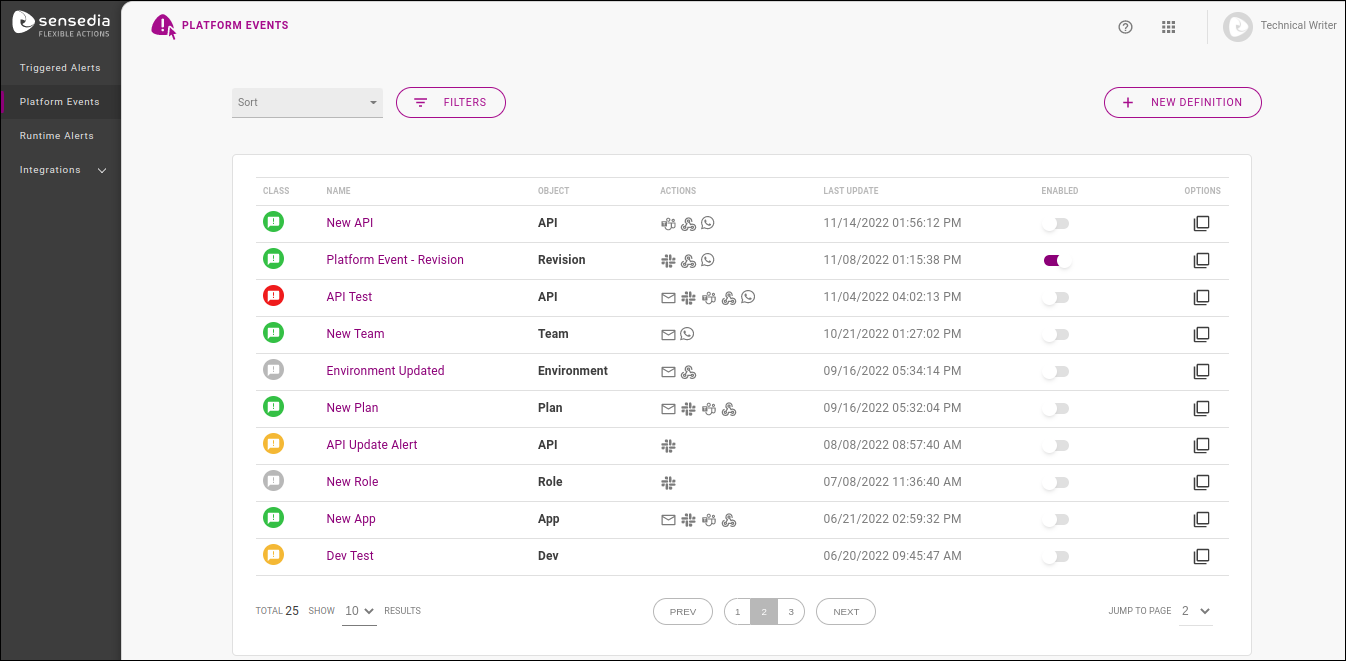
To set up a new alert, click the + NEW DEFINITION button on the upper right corner of the Platform Events page.
The creation process is done with a wizard spanning three stages, which we cover in details below on this page:
EVENT, to define which modification will be monitored;
ACTIONS, to configure the media used to send the notification; and
REVIEW, which displays the info registered for the alert just created.
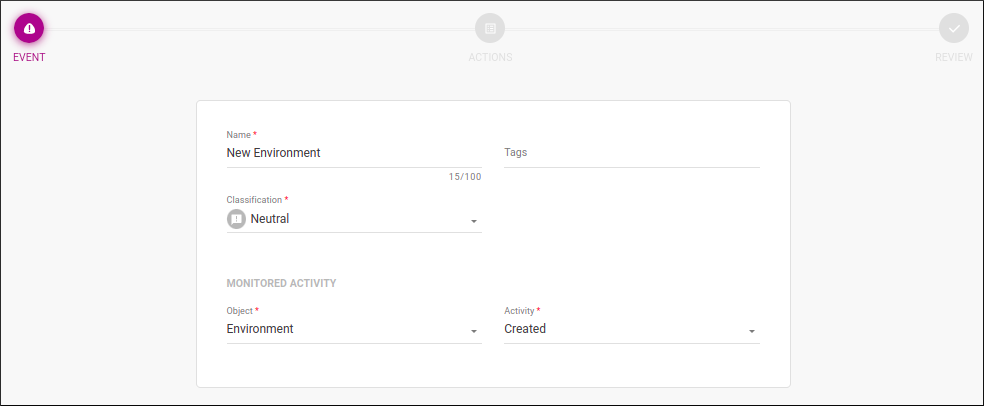
The EVENT stage comprises the definition of what will be monitored and includes two registration sections: OVERVIEW and EVENT DETAILS:
These are the fields to be completed:
OVERVIEW
Name: name that helps identify the alert (it doesn’t have to be unique).
Object: it defines the object to be monitored and, in case there is any modification, the alert will be triggered. See here the objects available for selection and the type of modification monitored for each one.
Classification: it represents the admonition type: neutral, success, warning or critical.
| The classification does not carry a pre-configured meaning. The user can define the admonition that best suits an action according to their business rules. |
After choosing the object, the section EVENT DETAILS is displayed. It contains the field Activity Type to define the modification monitored for the object selected.
In the image above, the field lists the options of modification you can monitor for the object environment. If you choose created, for instance, whenever an environment is created, that will trigger a notification informing the action with the name of the new environment, the user who created it and the date/time it happened.
After inserting the data, you can click the NEXT button to go to the ACTIONS stage.
The ACTIONS stage comprises the channels the notification will be sent to (E-mail, Slack, and Webhook):
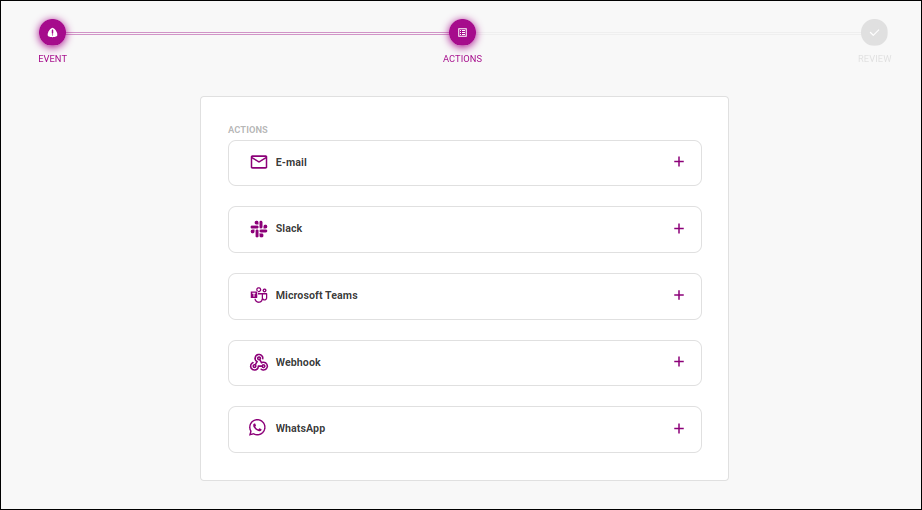
To add an action and configure it, click on ![]() .
.
| You must set up at least one action before you can save/create your alert. |
When this action is configured, a notification email is sent whenever the alert is triggered.
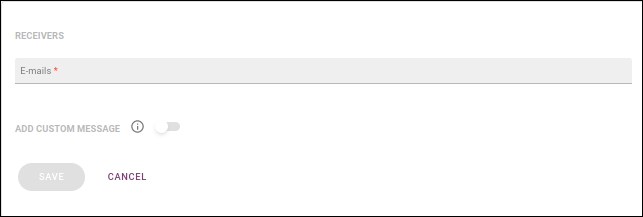
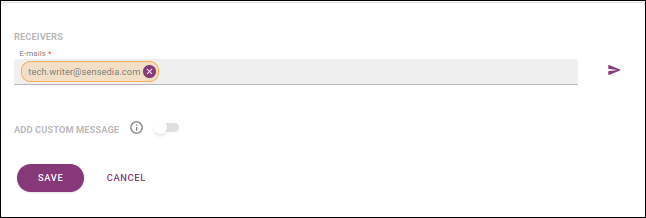
You can include email addresses to send notifications to in the E-mails field, under the RECEIVERS section. You can add as many addresses as you wish, typing each of them at a time or inserting multiple addresses separated by commas.
|
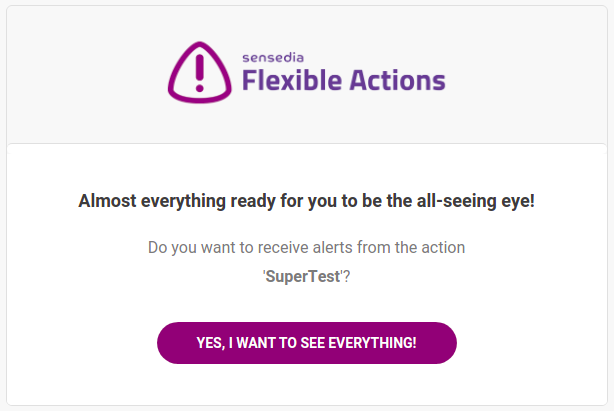
After a receiver is included on the list above, they will receive an email, as the image below shows, asking for consent regarding notifications being sent to them.
The link accessed via the button YES, I WANT TO SEE EVERYTHING will be valid for 24 hours. In case a receiver has not yet given their consent, their email address will be highlighted in yellow on the alert’s editing screen (see more about editing alerts here). You can send a new confirmation email by clicking the icon next to the list of addresses ( |
In the section ADD CUSTOM MESSAGE, you may customise an additional message to be sent with the notification. To do this, enable the button and type your message in the editing field that will open, as in the example below:
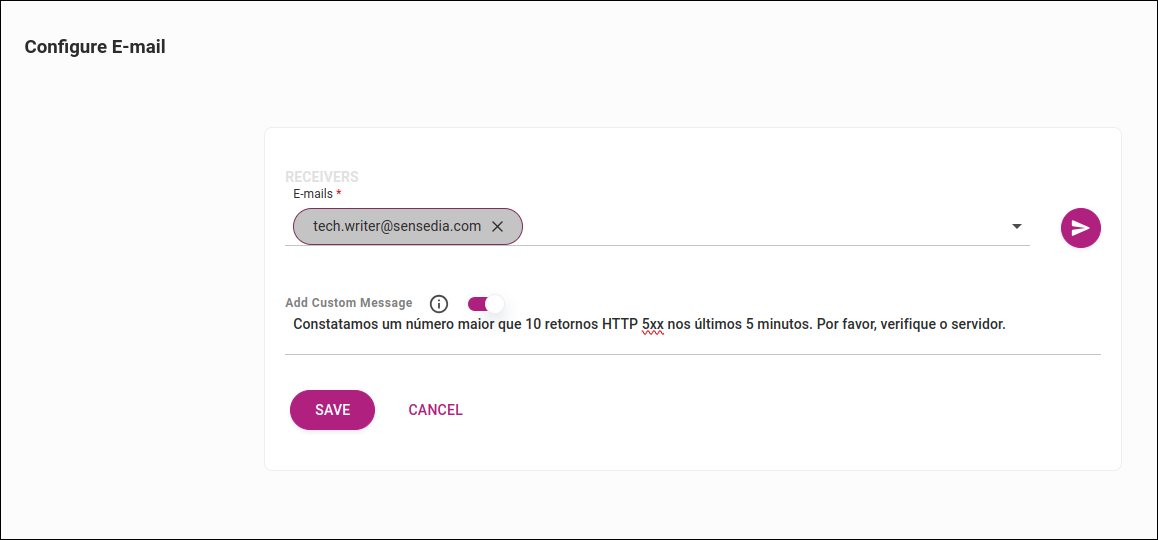
| The message can be written in plain text or HTML. |
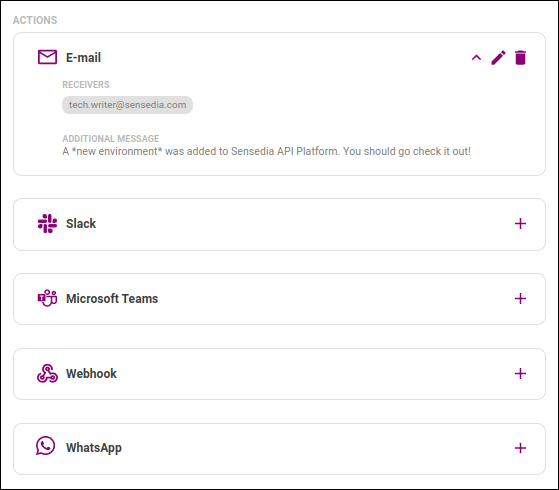
When you click SAVE, you’ll see the actions block again, and now the E-mail action will have icons for viewing info (![]() ), editing (
), editing (![]() and deleting (
and deleting (![]() ).
If you click on
).
If you click on ![]() , you’ll see the information you’ve just configured:
, you’ll see the information you’ve just configured:
Now, you can configure another action or save the alert, going on to the REVIEW stage.
When this action is configured, a notification is sent to a Slack channel whenever the alert is triggered.
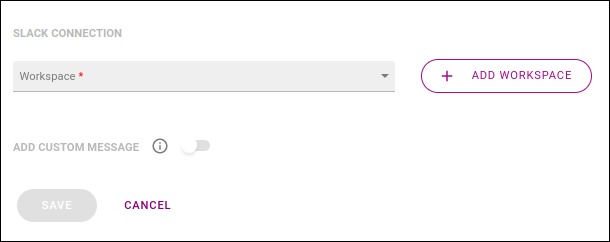
First, select the Slack workspace that will be used. If you haven’t included the workspace on the Integrations screen, you can do it now by clicking the button + ADD WORKSPACE. The process is the same (see more about it here). After you choose the workspace, a field will be displayed for you to pick the channel, as in the example below:
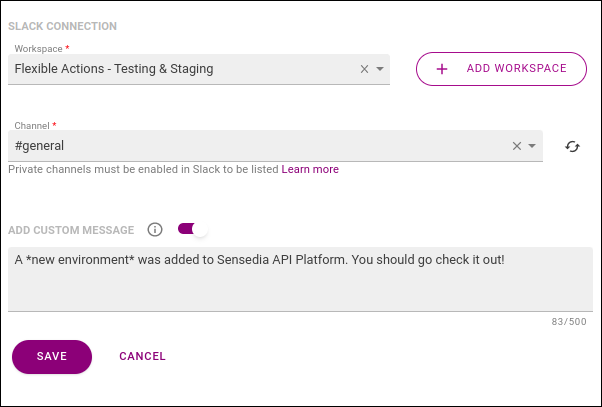
By default, only public channels are loaded, but you can also add a private channel. Read more about these settings here.
| You can select only one channel per alert. |
In the section ADD CUSTOM MESSAGE, you may customise an additional message to be sent with the notification. To do this, enable the button and type your message in the editing field that will open, as in the example image above.
| The message can be written in plain text or using formatting options accepted by Slack. See more about it in the Slack documentation. |
When you click SAVE, you’ll see the actions block again, and now the Slack action will have icons for viewing info (![]() ), editing (
), editing (![]() and deleting (
and deleting (![]() ).
If you click on
).
If you click on ![]() , you’ll see the information you’ve just configured:
, you’ll see the information you’ve just configured:
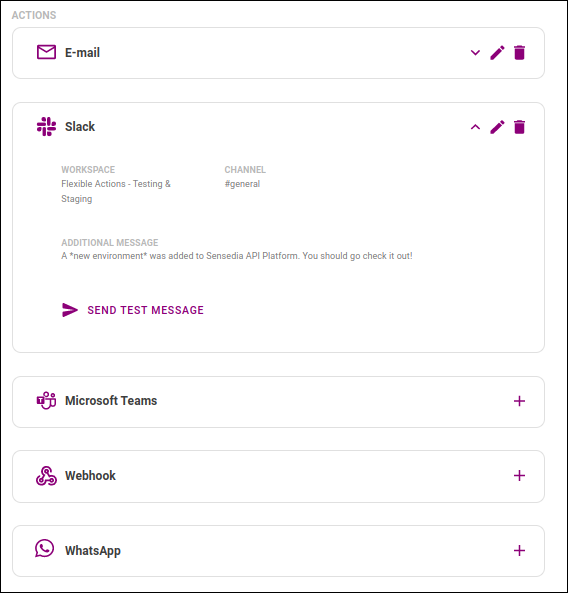
If you wish, you can send a test message to the channel you selected by clicking SEND TEST MESSAGE.
Now, you can configure another action or save the alert, going on to the REVIEW stage.
When you configure a Webhook action, Flexible Actions will send an HTTP POST request to the endpoint you define whenever your alert is triggered. With this, you can trigger a specific API straight from Flexible Actions monitoring. The request payload will include the parameters we’re monitoring for that alert and the additional message, in case you include one.
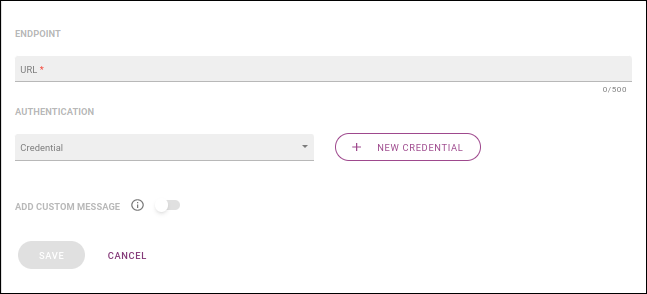
These are the sections you need to configure to set up a webhook:
ENDPOINT: include the endpoint in the Url field.
AUTHENTICATION: non-required section for you to define the credentials Flexible Actions must include in the requests. Each credential is comprised of a client ID accompanied or not by a client secret and it identifies where in the request the information will be included (header or query param). All registered credentials are found on the Integrations screen and you can select the one you want to use in the field Credential. If you haven’t registered the credential you need on the Integrations screen, you can do so by clicking the + NEW CREDENTIAL button. The process is the same (see more about it here).
In the section ADD CUSTOM MESSAGE, you may customise an additional message to be included in the request. To do this, enable the button and type your message in the editing field that will open, as in this example:
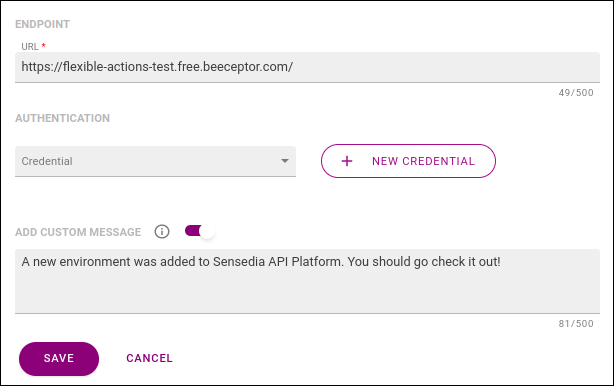
The message will be included in the request payload, identified by "customMessage".
|
When you click SAVE, you’ll see the actions block again, and now the Webhook action will have icons for viewing info (![]() ), editing (
), editing (![]() and deleting (
and deleting (![]() ).
If you click on
).
If you click on ![]() , you’ll see the information you’ve just configured:
, you’ll see the information you’ve just configured:
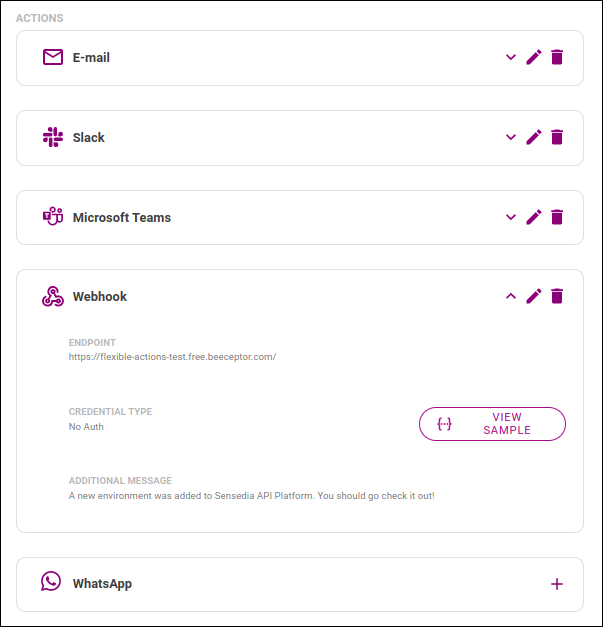
If you wish, you can see the JSON schema and a sample of the JSON payload that will be sent by clicking the {…} VIEW SAMPLE button.
Now, you can configure another action or save the alert, going on to the REVIEW stage.
The REVIEW stage shows a review of the information you entered for the alert you have just created, as in the example below:
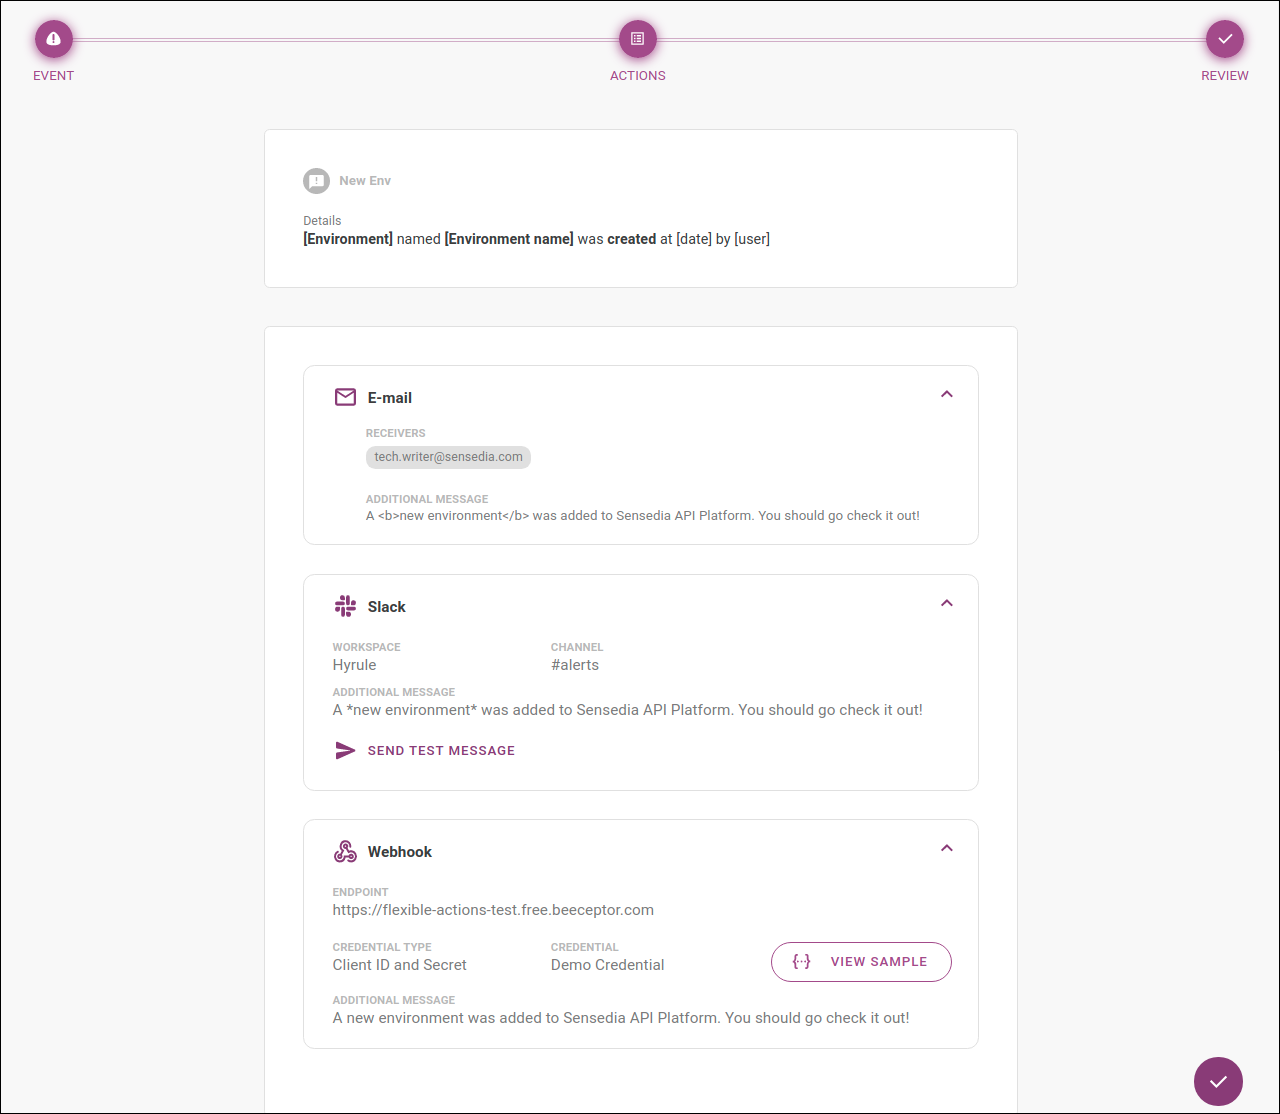
The actions configured will have the icon ![]() for more information.
Also, for Slack you can send a test message by clicking SEND TEST MESSAGE;
and for Webhook you can see the JSON schema and a sample of the JSON payload that will be sent by clicking the {…} VIEW SAMPLE button.
for more information.
Also, for Slack you can send a test message by clicking SEND TEST MESSAGE;
and for Webhook you can see the JSON schema and a sample of the JSON payload that will be sent by clicking the {…} VIEW SAMPLE button.
Share your suggestions with us!
Click here and then [+ Submit idea]