Thanks for your feedback!
EDIT
Check this quick guide and create an integration flow from the beginning to the end:
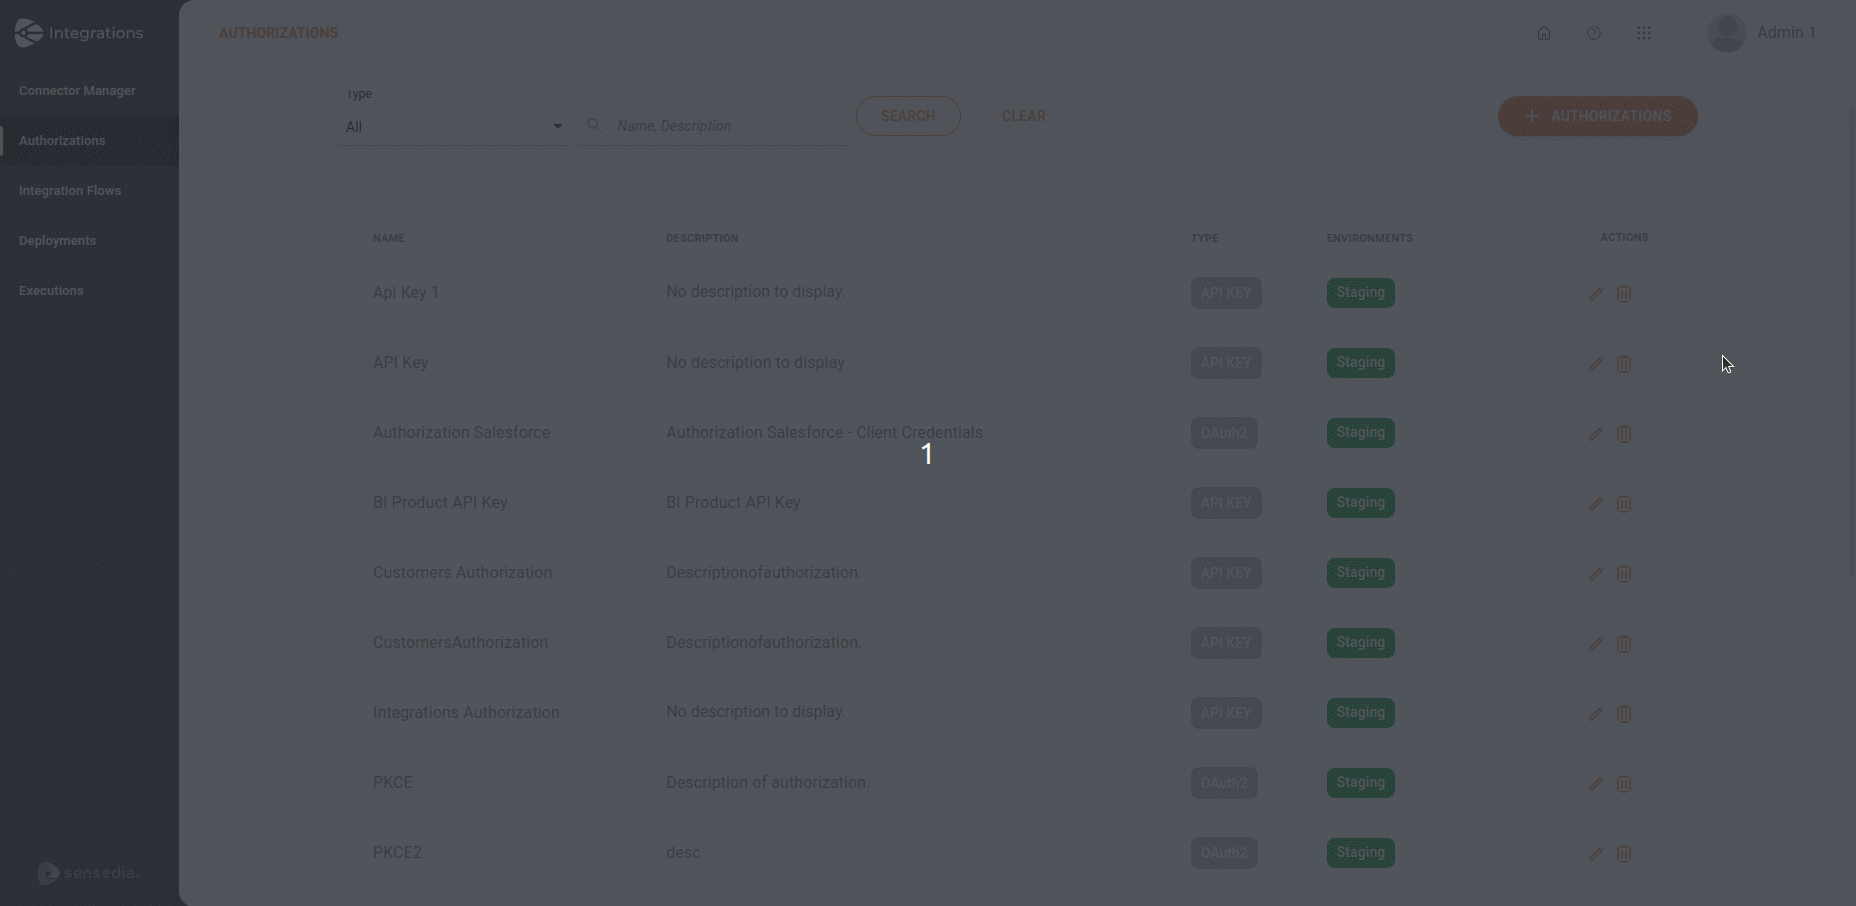
Click the Authorizations card;
Click the + AUTHORIZATIONS button;
Select the authorization type;
Fill in its form;
Click SAVE.
| Learn more about creating and configuring Authorizations. |
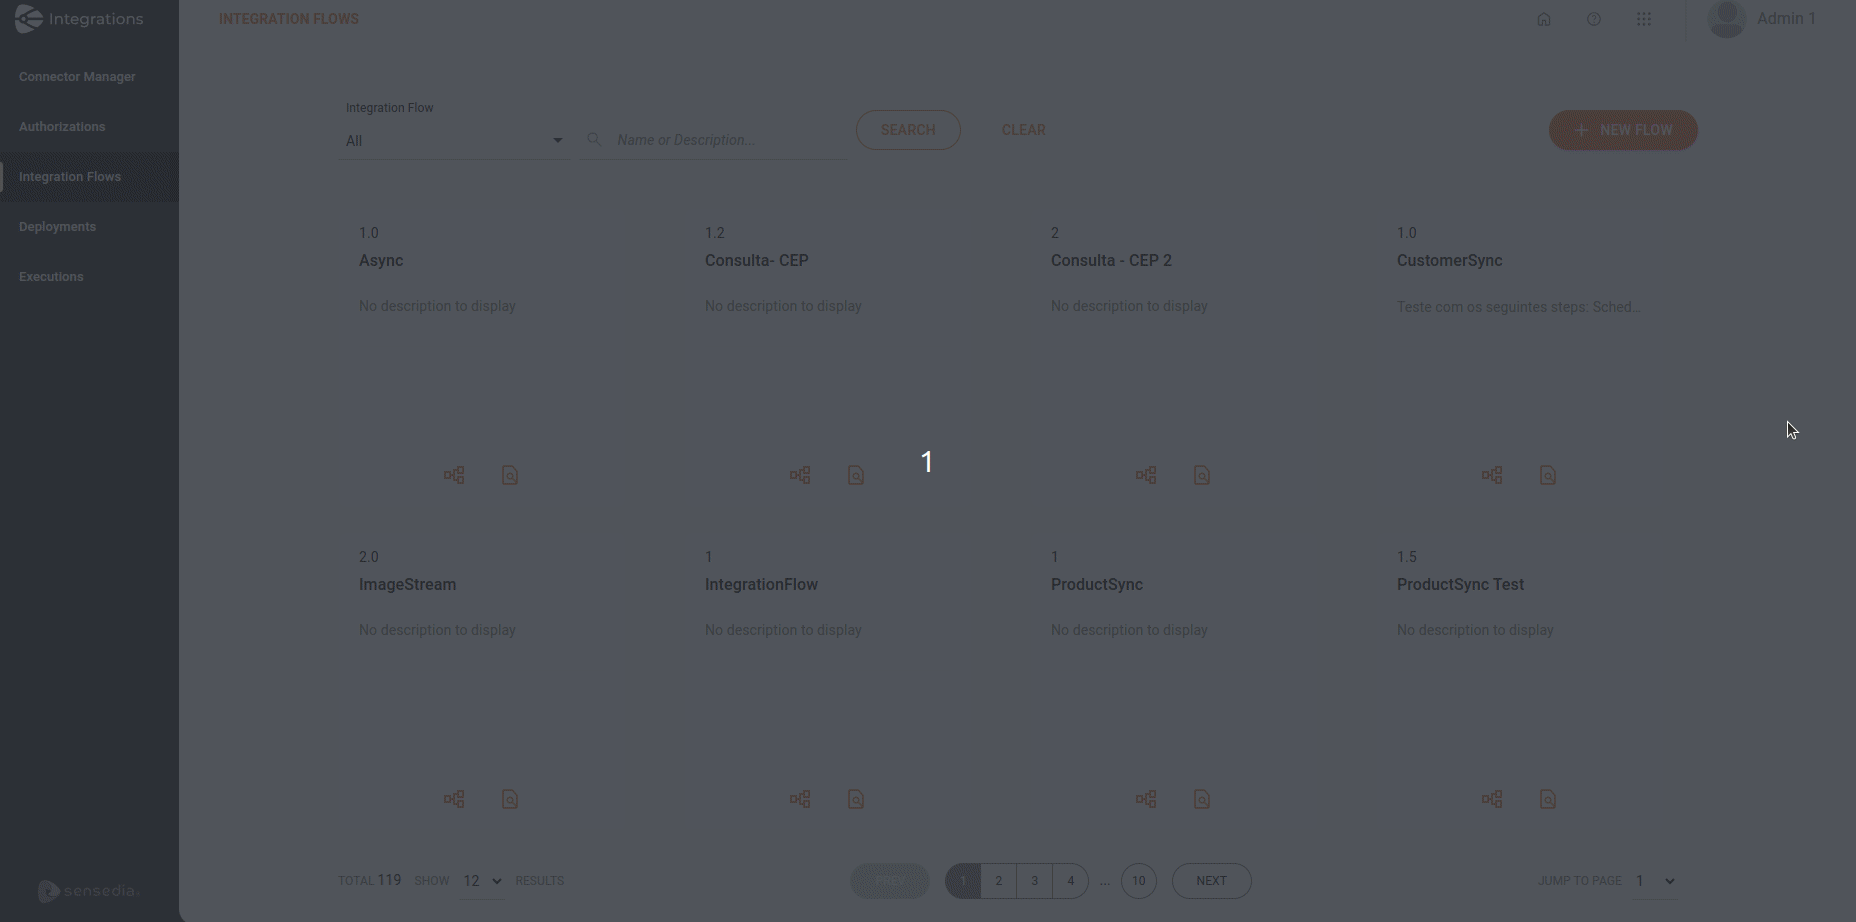
Click the Integration Flows card;
Click the + NEW FLOW button;
| The screen will be blocked once it opens. To unblock it, type a unique name and version for the integration flow. |
Click SAVE.
Click the  button, on the editing menu on the left;
Fill in the Name and Description fields, in the INFORMATION section;
Click the + ADD A NEW VARIABLE button, in the ROOT section;
Fill in the following fields:
Type: select the type of the variable.
Variable: enter the name of the variable. You cannot register the same variable more than once.
Value: enter the value of the variable.
Click SAVE.
| Learn more about creating and configuring Environment Variables. |
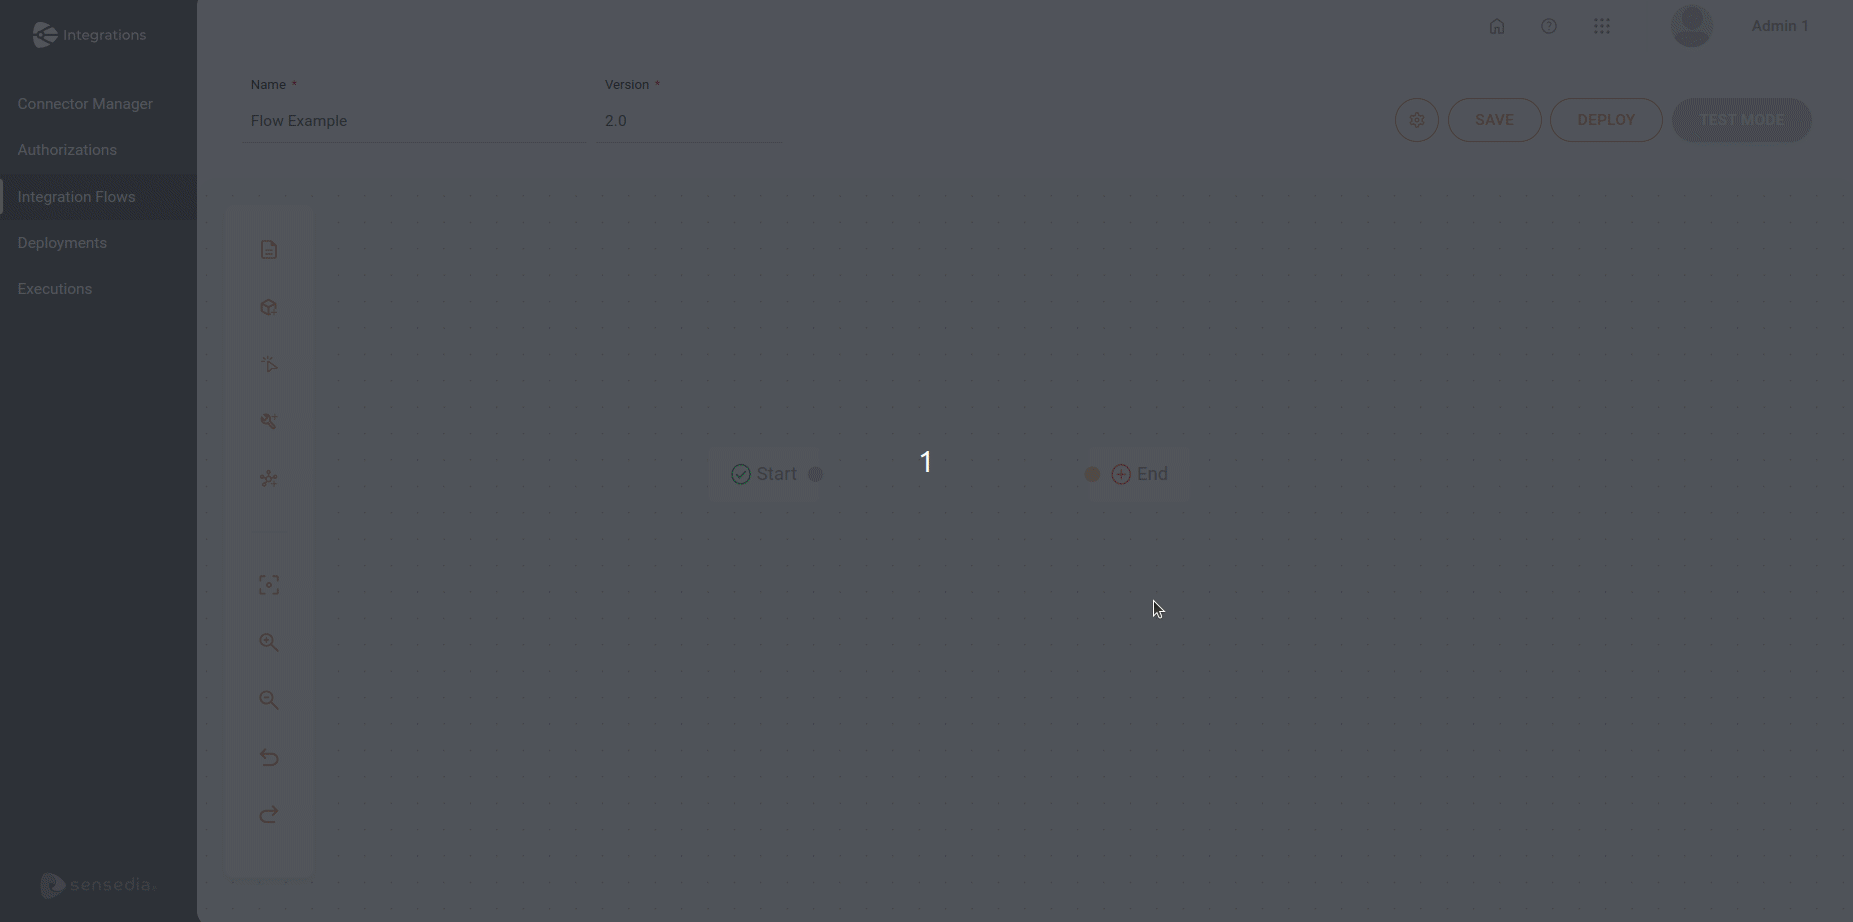
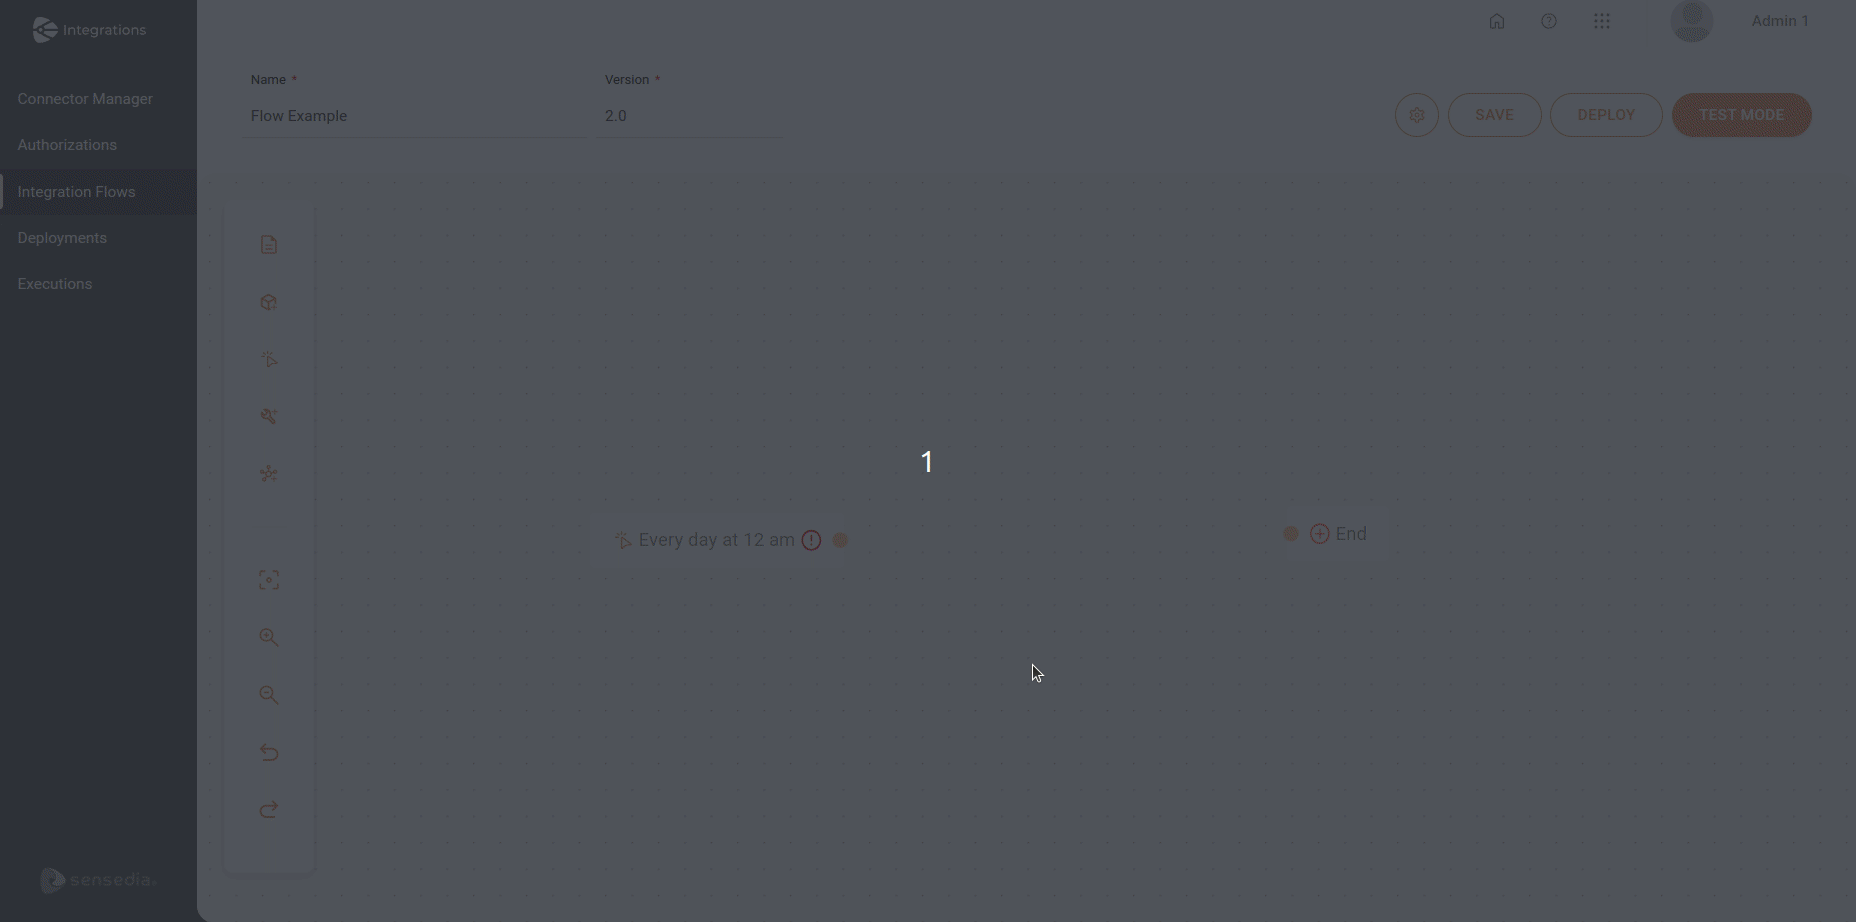
By default, you will see the  Start and
  End steps on the canvas.
They mark the beginning and the end of the integration flow, respectively.
End steps on the canvas.
They mark the beginning and the end of the integration flow, respectively.
To start the integration flow, add a trigger step.
Click the  icon, on the editing menu on the left;
Select a trigger;
The trigger will replace the Start button as soon as you add it to the canvas.
Fill it its form;
Click SAVE.
| The trigger allows only one connection to the next step. |
| Learn more about configuring Triggers. |
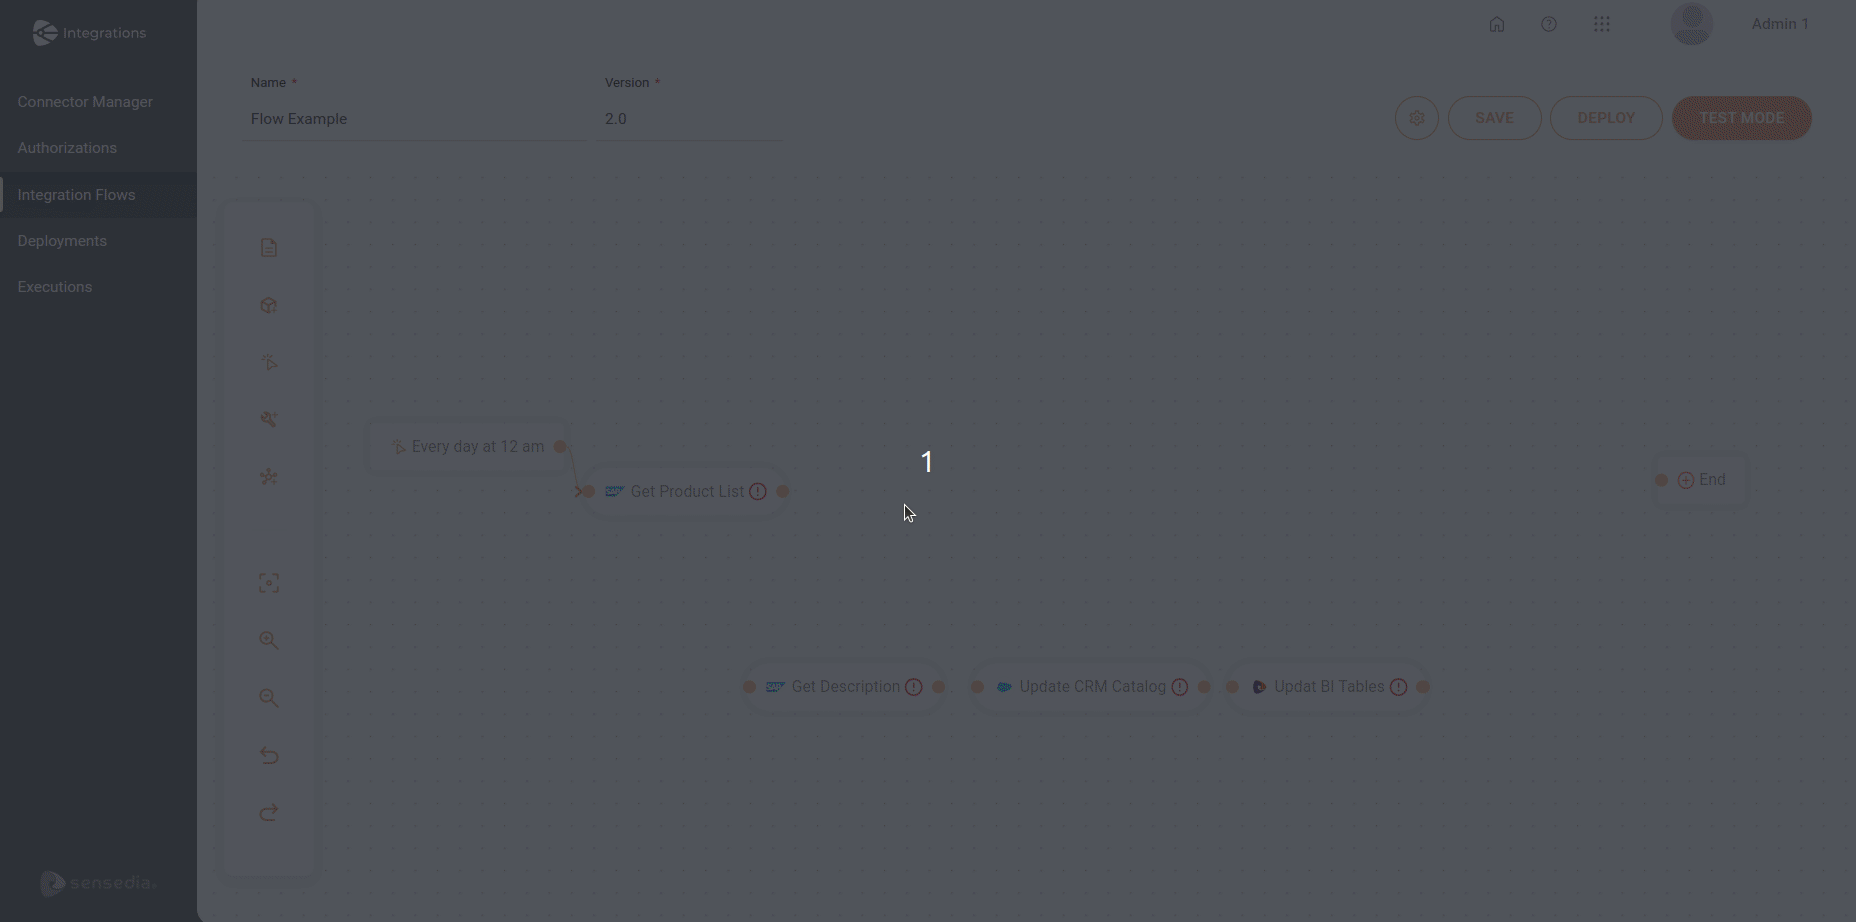
Now, add a step connector to the integration flow.
Click the  icon, on the editing menu on the left;
Select a connector;
| Each step allows only one connection to the previous step and one connection to the next step. |
Configure the connector;
Click SAVE.
After connecting and configuring the steps, the alert icon  will disappear. will disappear.
|
| Learn more about configuring Connectors. |
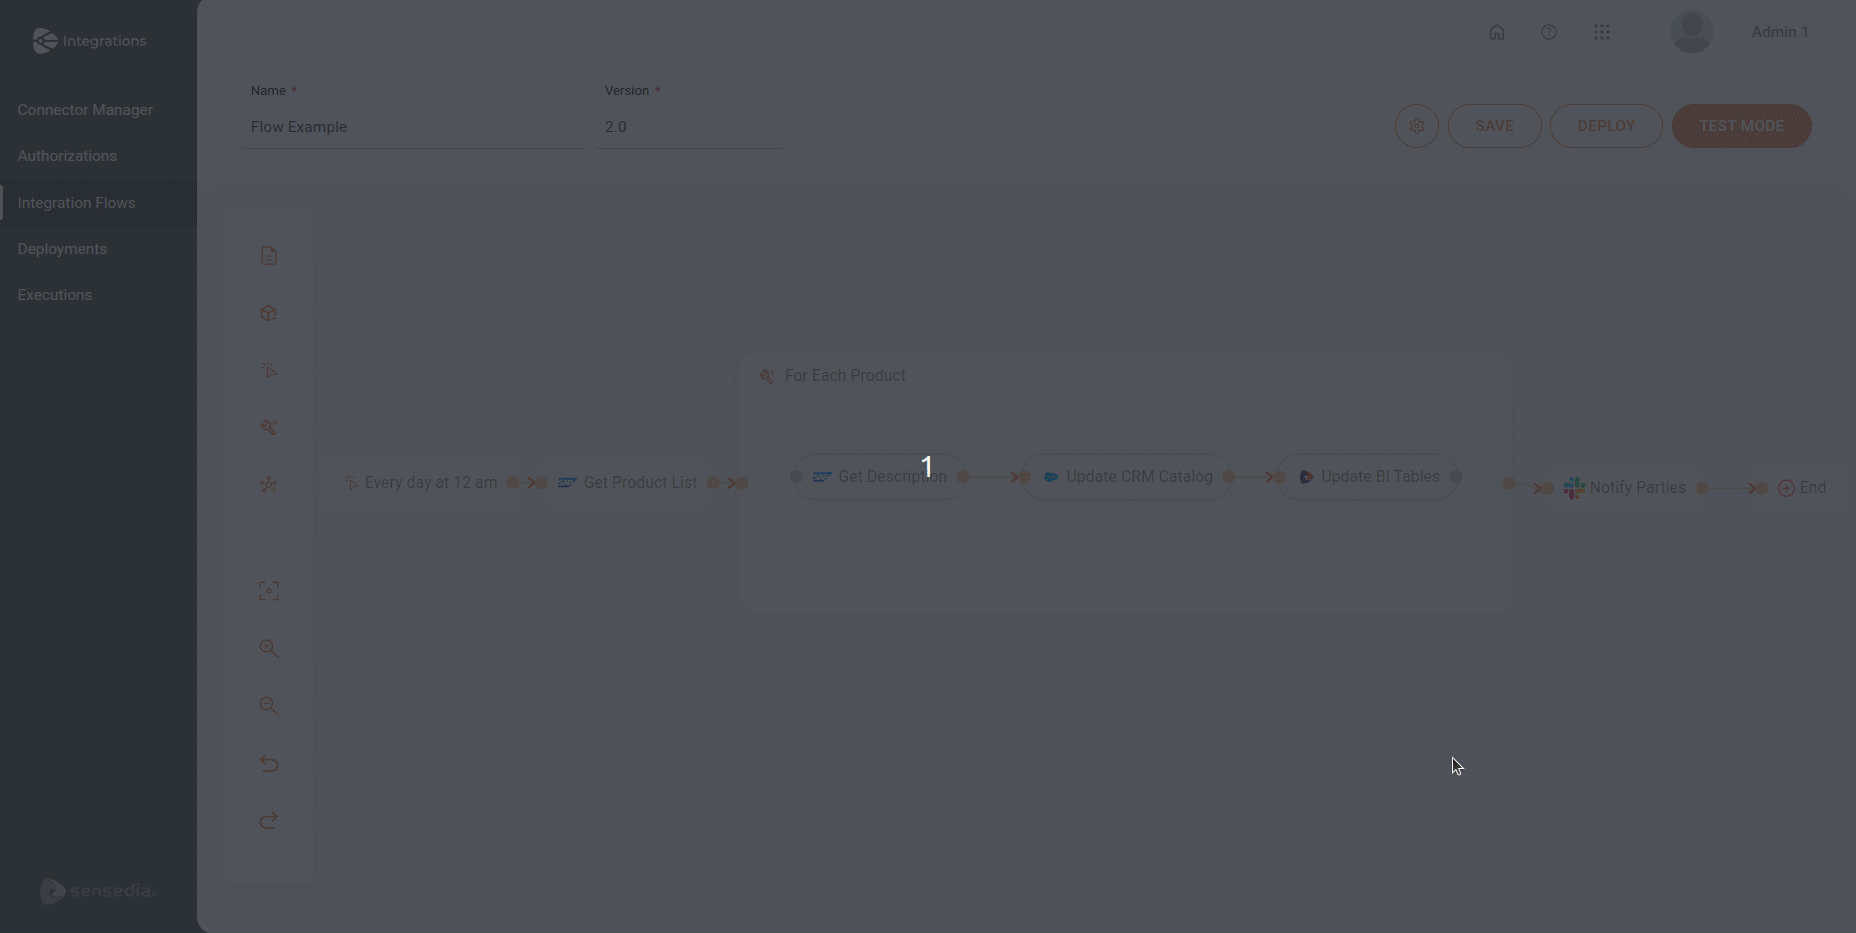
General tools perform operations with data within the integration flow.
| This step is not mandatory. |
Click the  icon, on the editing menu on the left;
Select a tool;
Fill in its form;
Click SAVE.
| Learn about the different General Tools and how to configure them. |
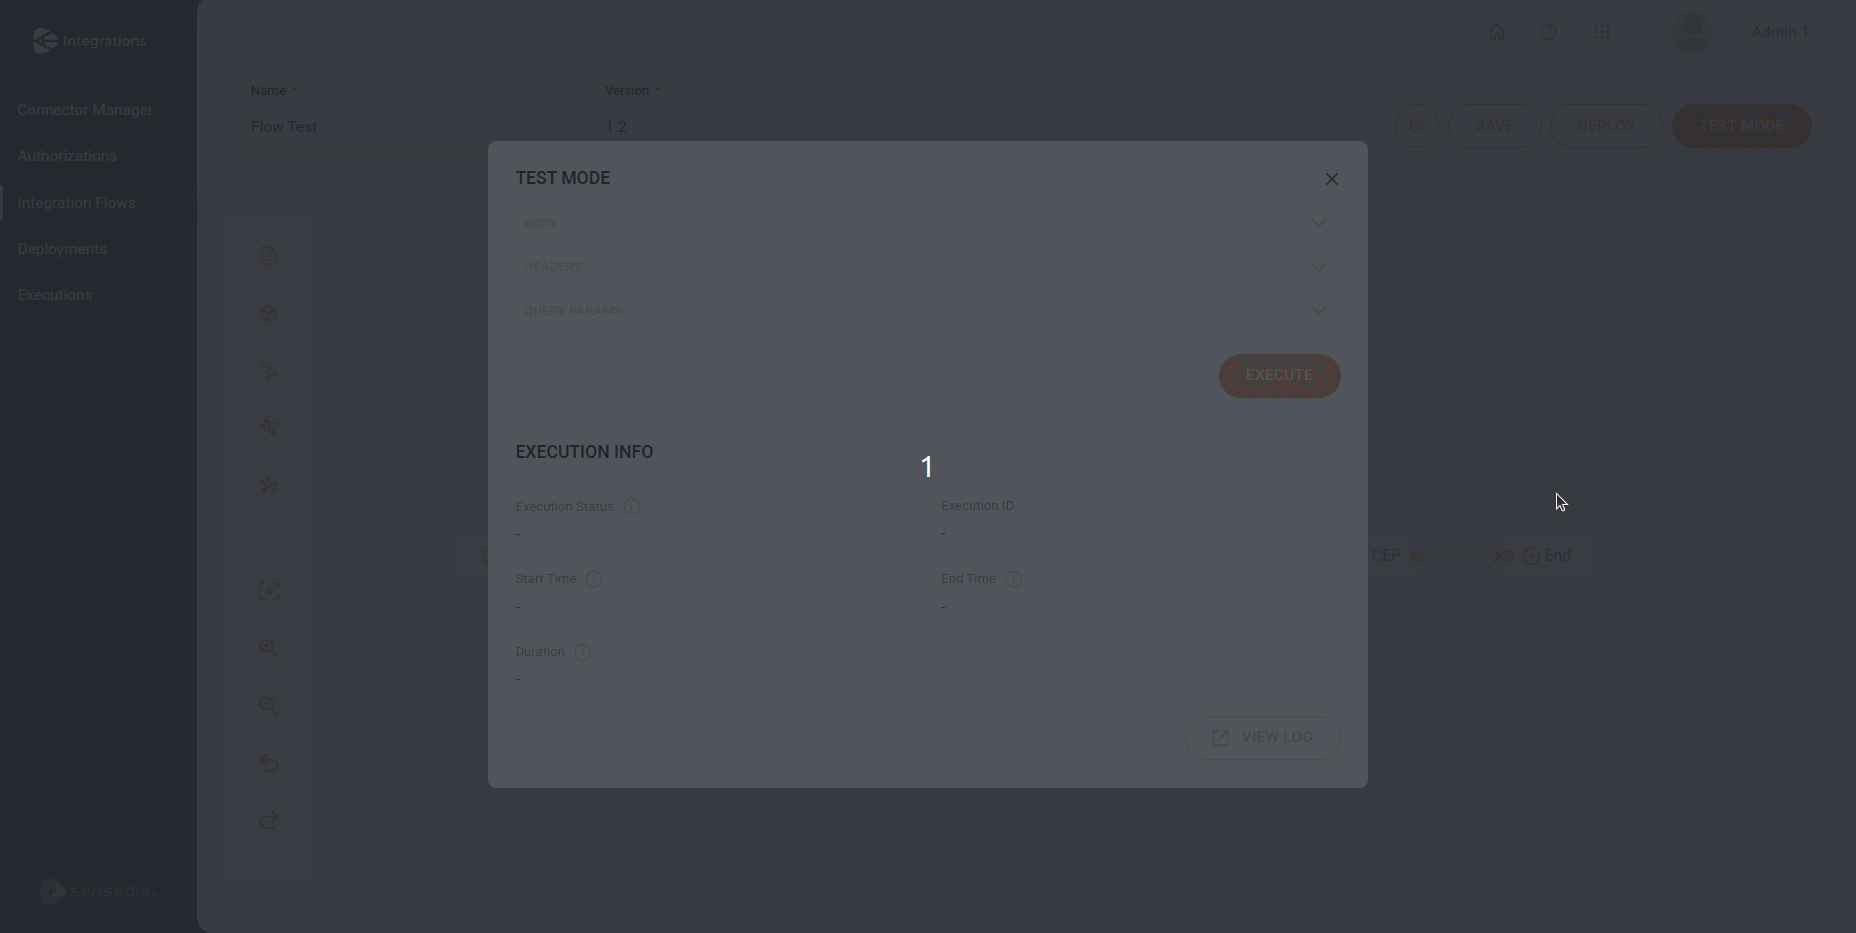
After saving your integration flow, execute it to check if there are any errors before deploying it.
Click the button TEST MODE in the upper right corner.
(Optional) If you used the Rest trigger in your flow, enter the execution payload in the Body field and enter the Headers and Query Params values.
Click the EXECUTE button to execute your integration flow.
Check the execution information on the Execution Info section;
Click  View Log to check the log details of the execution.
| Learn more about Test Mode. |
Click the DEPLOY button in the upper right corner.
Fill in the following fields:
Description (optional): the deployment description.
Environment: a selection field to choose the environment of the deployment. You may choose between:
Staging (enabled by default)
Production
Value (optional): the environment variables value registered. Editable field.
| All the other fields are read-only. |
Click DEPLOY in the bottom right corner to deploy your flow.
| Learn more about Deploy. |
Share your suggestions with us!
Click here and then [+ Submit idea]