Thanks for your feedback!
EDIT
With the REST trigger, you can execute the integration flow via an external call with one of the HTTP methods.
Here’s how to add it to your canvas and configure your form.
Click the icon  , in the editing menu on the left;
Select the REST trigger.
The  Start is replaced by the trigger as soon as you add it to the canvas.
Configure your form.
To delete the REST trigger from the canvas, select it and click the  button. button.Deleting the trigger will disable the Test Mode function. |
Select the trigger on the canvas.
Click the edit icon ![]() .
.
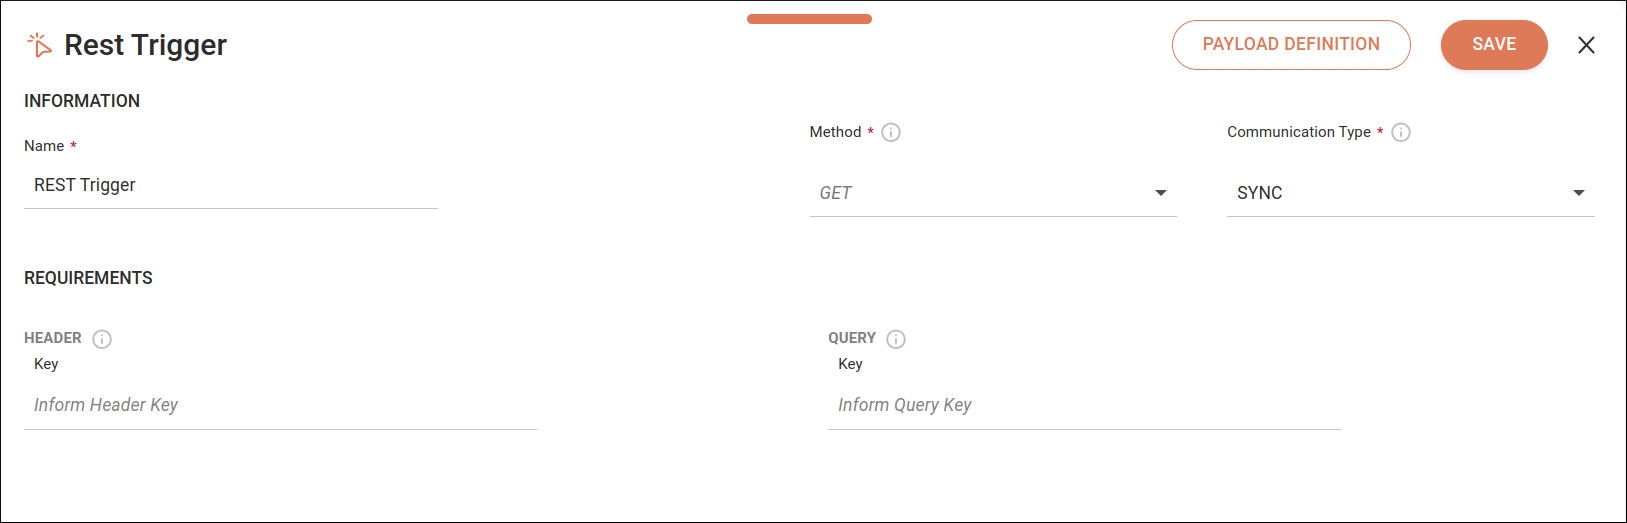
Fill in the following fields:
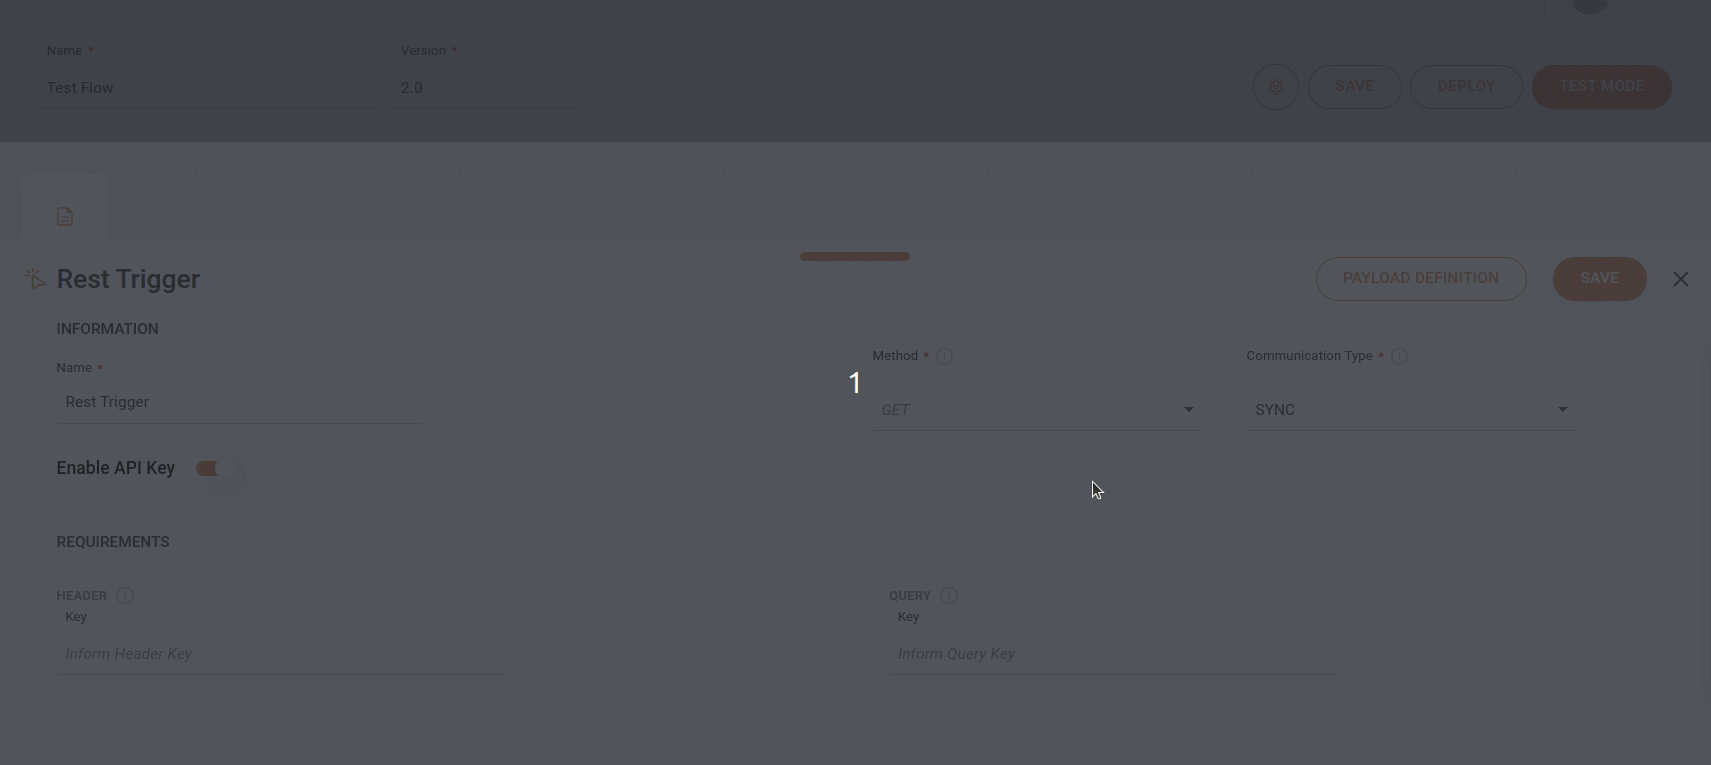
Name: enter the trigger’s name. The name cannot be used more than once in the same integration flow. By default, you will see REST Trigger.
Method: select the HTTP method to be used.
Communication Type: define whether the call will be synchronous (SYNC) or asynchronous (ASYNC). By default, SYNC is selected.
For an asynchronous call, the system will return a 202 response.
|
Header/Key: enter the header parameters.
Alphanumeric field that allows special characters (_, . and -), with a limit of 60 characters.
Query/Key: enter the parameters for query.
Alphanumeric field that allows special characters (_, . and -), with a limit of 60 characters.
| The same key cannot be entered more than once. |
If you don’t need to define your payload, click SAVE.
|
To delete a key in any of the components, click the button to the right of the key. To add a new key, click the + icon. |
Mapping the structure of the incoming payload of the REST trigger will make it easier to use the mapped fields in other components of the integration flow. You can edit the payload definitions at any stage of the integration flow creation.
| If you have already created a JSON schema, when you click on PAYLOAD DEFINITION, you will see the data already registered. |
To configure the structure of the incoming payload, follow the steps below:
Click on PAYLOAD DEFINITION in the top right-hand corner of the REST trigger screen.
In the window that opens, you’ll find two columns:
JSON SCHEMA: In this column, enter the JSON schema that will define the structure trafficked in the incoming request.
There is no character limit.
To validate the data format, click on the refresh icon on the right  .
.
JSON STRUCTURE: This column is read-only. It is used to visualize and validate the format of the data in the JSON SCHEMA column.
To delete an attribute from the payload definition, delete the corresponding line in the JSON schema column.
To confirm the data, click on CONFIRM.
| If the JSON schema is not in the correct format, you will see a message that the JSON schema is incorrect. |
Back on the REST trigger configuration screen, click on SAVE to save the records.
| For more information on the specifications of a JSON schema and how to create a validation file according to your needs, go to JSON SCHEMA (in English). |
Share your suggestions with us!
Click here and then [+ Submit idea]