Thanks for your feedback!
EDIT
The Sensedia Service Mesh installer is now simpler.
In 3 steps you will already have Sensedia Service Mesh installed on your cluster.
A Kubernetes cluster.
Kubernetes versions 1.22 - 1.25 are supported.
Any tools required to interact with your Kubernetes or cloud provider environment. This usually includes a specific command line interface tool. Here are some helpful links to get those tools, as well as to check their provider documentation should you need more detailed information:
Docker, to run the installer.
Cert-Manager (the native Kubernetes certificate controller management)
OpenId Connect provider
A connection to Keycloak
In the desired directory, run the following command to get the configuration files to be used by the installer:
curl -L https://sensedia-mesh-installer.sensedia.com/ | sh -
If the execution of the above command is successful, the sensedia-mesh-config directory will be created in the path where it was executed.
This directory contains the following files:
.
├── .env
├── setup.sh
└── values
    └── sensedia
        ├── keycloak-adp-values.yaml
        ├── manager-values.yaml
        └── operator-values.yaml
The .env, keycloak-adp-values.yaml and manager-values.yaml files must be modified in the next step.
The operator-values.yaml file should, at first, be empty.
If needed, the Sensedia team will provide information to add to it.
The Sensedia Service Mesh installation requires some configuration to be done.
In order to do it, the following files contained in the sensedia-mesh-config directory must be modified:
.env
values/sensedia/keycloak-adp-values.yaml
values/sensedia/manager-values.yaml
The following subsections provide instructions on how to configure the installation.
Get in touch with Sensedia to get the URL of the Helm repository;
Replace the <HELMR> parameter in the .env file with the URL you got:
# Helm repository for Sensedia Mesh
SENSEDIA_HELM_REPO=<HELMR>

# Attention!!! Be careful when changing the value to true! It will be used to remove Istio and Sensedia Mesh
FORCE_UNINSTALL_SERVICES=false
|
The installer does not ask for confirmation before removing the services. Therefore, to prevent services from being removed by accident, the default value of |
In the file values/sensedia/keycloak-adp-values.yaml, replace the values indicated by <EDIT> with the values corresponding to your Keycloak connection:
# -- Enable to install Sensedia Mesh Keycloak Adapter
enabled: true

# -- keycloak connection parameters
keycloak:
  # -- The base url for connecting to a Keycloak Admin API. It should contain the scheme, host and port, but not path. For example: https://keycloak.mydomain.com/
  baseUrl: <EDIT>
  # -- Sensedia Service Mesh Client Id for authenticating when using Keycloak Admin Apis with the OAuth2 Client Credentials Protocol
  clientId: <EDIT>
  # -- Sensedia Service Mesh Client Secret for authenticating when using Keycloak Admin Apis with the OAuth2 Client Credentials Protocol
  clientSecret: <EDIT>
  # -- The Keycloak realm that Sensedia Mesh will authenticate to. All Sensedia Mesh client configuration and its users should belong to this realm
  realm: <EDIT>
With the enabled field value set to true, the Keycloak Adapter will be installed.
|
Sensedia Service Mesh requires an OpenId Connect provider for authentication.
For OpenId Connect, you will need to create a new Client on your OpenId provider and gather these pieces of information from it:
Client Secret
Client Id
URL of the provider
With this information, replace the values indicated by <EDIT> in the manager.openid.baseUrl, manager.oauth.client.id and manager.oauth.client.secret fields of the values/sensedia/manager-values.yaml file:
webUI:
  host: <EDIT>
  scheme: "http"

manager:
  sensediaAuth:
    enabled: false
  openid:
    enabled: true
    baseUrl: <EDIT>
    scopes: profile;email
  oauth:
    client:
      id: <EDIT>
      secret: <EDIT>
  iam:
    adapter: keycloak

ingress:
  enabled: true
  host: <EDIT>
  tls: true
  annotations: <EDIT>
In addition to these fields, there are also the optional manager.openid.scopes and manager.openid.extraParams fields.
Configuring manager.openid.scopes allows Sensedia Service Mesh to retrieve the username and email address and use them to display user information on the Sensedia Mesh UI.
The value of manager.openid.extraParams is specific to each OpenId provider.
It can be used to specify query parameters to the OpenID authentication URL, in key=value format.
For example, by using extraParams: "hd=sensedia.com", we are requesting the provider to accept only sensedia.com accounts for logging in.
The installation of Sensedia Service Mesh does not expose the application outside of the Kubernetes cluster. This is so as to let each customer decide which approach to use for doing it.
The application entry point is the mesh-router service in the sensedia-system namespace.
Just expose this service and the application should be good to go.
For detailed information for each Cloud Provider, see the following documentation:
In the values/sensedia/manager-values.yaml file you should provide:
The host of your provisioned environment in the webUI.host and ingress.host fields;
The annotations specific to your cloud service provider in the ingress.annotations field.
The installer already has a preconfigured MongoDB instance.
If you want to use the settings of your own instance, edit the values/sensedia/manager-values.yaml file by including the corresponding information as follows:
  manager:
    mongodb: # parameters for MongoDB connection
      host: "mesh-manager-mongodb"
      port: "27017"
      database: "mesh-manager"
      user: "admin" # application's database user, used by mesh-manager
      password: "admin"
      migrationUser: "admin" # migration's database user with "dbAdmin" role, used to create the required collections and indexes for the application
      migrationPassword: "admin"
  mongodb: # demo feature. Creates a database automatically
    auth:
      rootPassword: "root" # sets the password for the root user
      databases: ["mesh-manager"] # database's name
      usernames: ["admin"] # initializes database with these users
passwords: ["admin"] # sets the password for the users above, respectivelyAccess the Kubernetes cluster where Sensedia Service Mesh will be installed.
Make sure you have the required permissions to access this cluster. To do this, you can try running the following command:
kubectl get po -A
In the sensedia-mesh-config directory, run the following command to install Sensedia Service Mesh and its dependencies:
./setup.sh
You can use the following command to check whether the helm applications are installed:
helm list -n sensedia-system

NAME          NAMESPACE       REVISION UPDATED                        STATUS   CHART                        APP VERSION
mesh-init     sensedia-system 1        2022-03-08 16:04:25 -0300 -03  deployed sensedia-mesh-init-1.4.0     1.4.0.0
mesh-manager  sensedia-system 1        2022-03-08 16:50:28 -0300 -03  deployed sensedia-mesh-manager-1.4.0  1.4.0.0
mesh-operator sensedia-system 1        2022-03-08 16:04:25 -0300 -03  deployed sensedia-mesh-operator-1.4.0 1.4.0.0
In case of an error, try repeating the process or get in touch with the Sensedia support.
Get the mesh-manager ingress with this command:
kubectl get ingress sensedia-mesh-manager -n sensedia-system

NAME                    HOSTS                                                         ADDRESS                                                                  PORTS     AGE
sensedia-mesh-manager   manager-sensedia-mesh-api-platform-testing.sensedia-eng.com   e1a0fd59-sensediasystem-se-6385-1406950746.us-east-1.elb.amazonaws.com   80, 443   43m
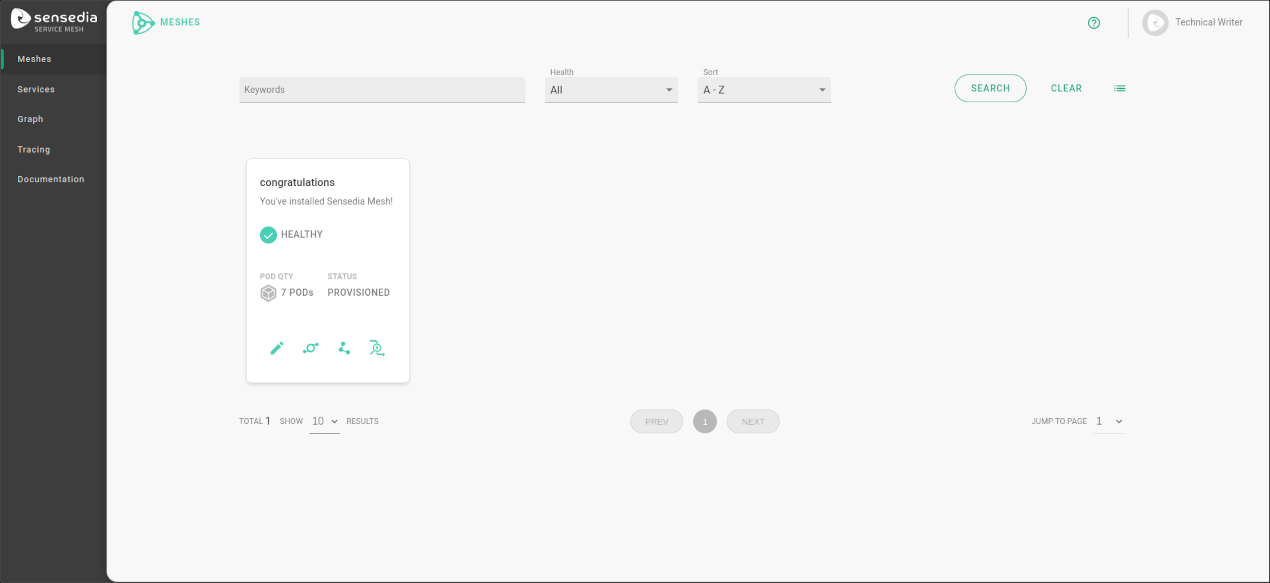
The host has to match the host that you configured previously when installing the manager. Then, you can access the web-ui through your browser.
If all worked well, you will see all your meshes on the main screen.
In the .env file of the sensedia-mesh-config directory, change the value of the FORCE_UNINSTALL_SERVICES variable to true.
Run the following command in the sensedia-mesh-config directory (this will uninstall Sensedia Service Mesh and its dependencies):
./setup.sh uninstallAll
| The installer does not ask for confirmation before removing the services. |
Share your suggestions with us!
Click here and then [+ Submit idea]