

Thanks for your feedback!
EDIT
The Meshes screen shows the list of meshes that are in your clusters and can be managed by Sensedia Service Mesh.
A manageable mesh is a Kubernetes cluster namespace with an Istio label enabled.
| You can select the cluster you want to operate in the Cluster: field, located in the upper right corner of the screen. |
The actions you can perform on this screen depend on the permissions set for your user in Sensedia Access Control.
The following table shows the possible permissions and the corresponding actions:
| Permission | Description |
|---|---|
List Meshes |
With this permission, the user will be able to view the list with all available meshes. It will also be possible to use the list filters available on this screen. |
Read Meshes |
It allows the view of the settings of each mesh, such as the host and the TLS configuration used. It does not, however, allow these settings to be changed. |
Write Meshes |
It allows the view and the editing of the meshes’ settings. |
List Services |
It allows the visualization of the list of services of the meshes. |
Read Graph |
It grants access to the graphic visualization of the meshes on the Graph screen. |
List Tracing |
It allows the visualization of the meshes' tracing data on the Tracing screen. |
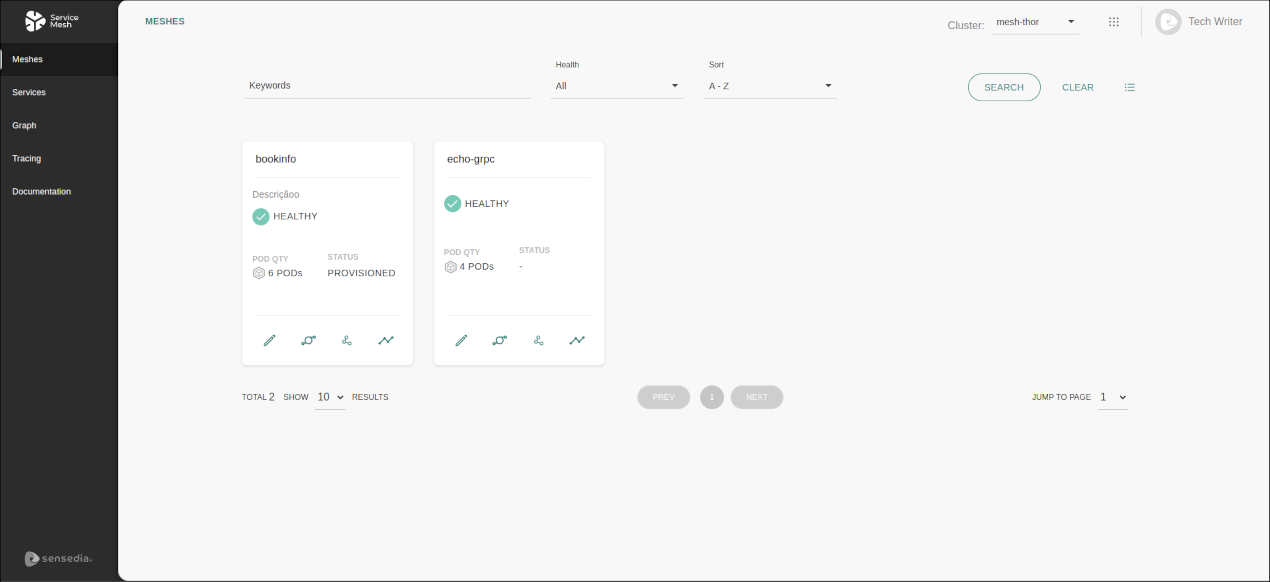
Manageable meshes are displayed as cards on the Meshes screen, as in this example:

Each card shows the name of the mesh/namespace and its description, informs whether the mesh is healthy or unhealthy, the quantity of pods, and the status — which can be provisioned, unmanaged or of error.
|
A mesh is unhealthy if there is any incorrect Istio configuration or if a pod has problems. If there has been an internal error when configuring the Mesh, the status will be "Error". The status will be "Provisioned" when Sensedia is acting on it. A visible mesh but without Sensedia’s action will appear as "Unmanaged". To provision meshes, you must access the editing page (see below). |
In addition to the information above, cards contain these action buttons:
When you click a mesh’s name on a card, you are redirected to its visualisation screen, such as the example below:
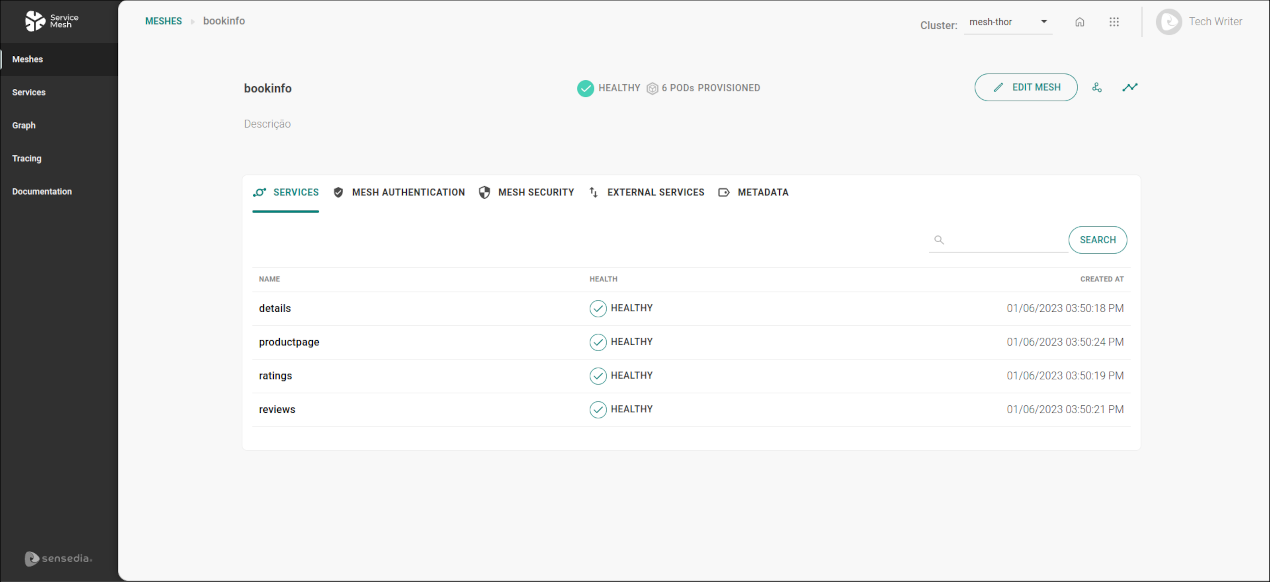
On the upper right part of the screen, there are these buttons:
The screen also contains five tabs to view info and configure details:
The SERVICES tab lists the services that comprise the mesh.
It is possible to filter the list by the name of a service (or part of it) by typing it into the field located at the top right of the list and clicking the SEARCH button.
For each service, you can see its name (column NAME), whether it’s healthy or unhealthy (column HEALTH), and the date and time it was created (column CREATED AT).
If you click a service’s name, you’ll be redirected to the Services page, where you can see information regarding this service and can apply policies to it.
The tab MESH AUTHENTICATION allows configuring authentication for all services of the mesh at hand. With this, you stablish what type of authentication the client will need so that it can make requests to the mesh.
If you haven’t configured this option, the tab will contain the button CONFIGURE AUTHENTICATION, as in the example below:

A mesh can have only one authentication rule configured.
If one is already saved, you can edit it by clicking the ![]() button or remove it by clicking
button or remove it by clicking ![]() (see image below).
(see image below).

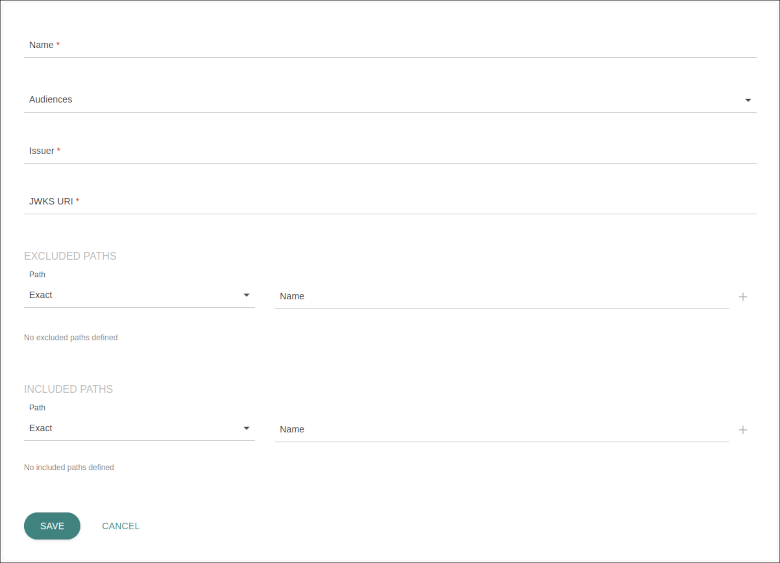
These are the fields you need to configure (or edit):
Name: name to identify the configuration.
Audiences: field to select audiences after you insert an issuer (field below). An audience is not required but, if selected, it must be in the client’s token.
Issuer: field to insert the address of the OpenId Connect provider.
JKWS URI: type in the address to obtain the JWKS keys.
EXCLUDED PATHS: field to select the paths that won’t require authentication.
INCLUDED PATHS: field to select the paths that require authentication.
After saving the configuration, the client will need authentication with the issuer inserted so as to be able to make requests to the mesh.
The tab MESH SECURITY contains only one button: CHANGE SECURITY SETTINGS:

Upon clicking it, you can flag the option establishing that all communication between the services of the mesh is unauthorised by default. In this case, any communication is only allowed if there is a specific policy configured for each service that will be made available.
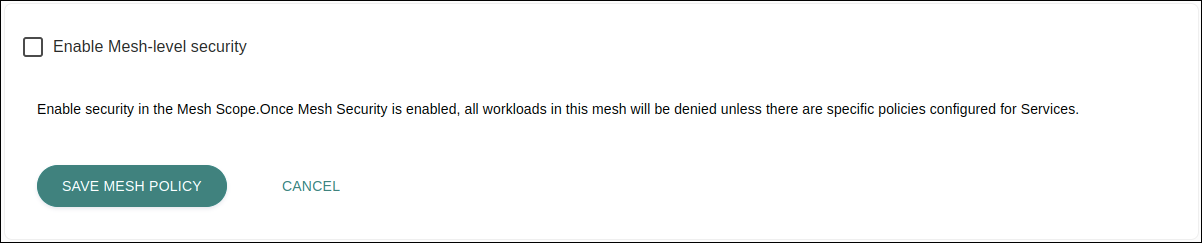
| This option needs to be flagged for authorization policies at the services level to be used () |
The EXTERNAL SERVICES tab allows you to configure rules to enable the access of the services within the mesh to services that are external to it. Check the documentation for this feature here.
The tab METADATA displays the Istio, Jaeger and Kiali versions used in the mesh:

| Istio, Jaeger and Kiali must be installed in order for the mesh to be managed by Sensedia Service Mesh. |
The button EDIT MESH when visualising a mesh directs the user to the editing screen.
|
The icon |
These are the fields that can be edited:
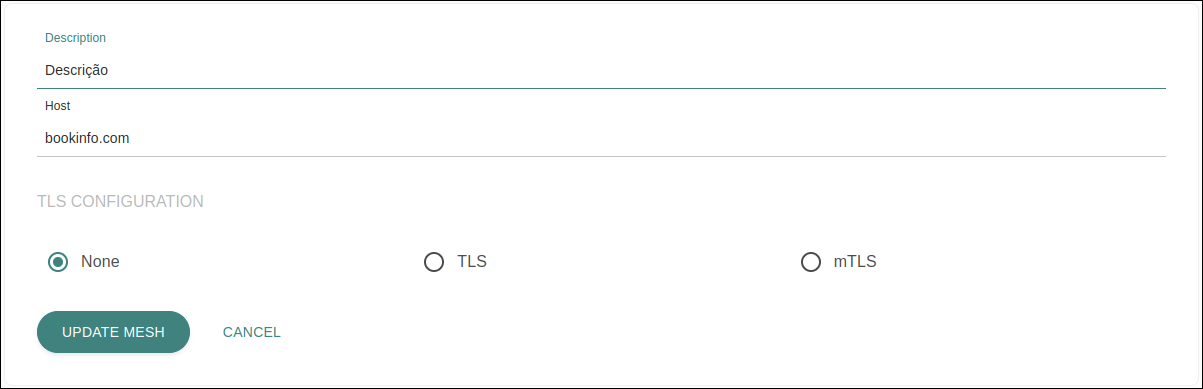
Description: field to add a description (non-required, but it helps to identify the mesh).
Host: field to register the URL to which the mesh will respond to. That is, it’s the entry point to the mesh.
| When a host is registered, the status of the mesh is set as Provisioned. |
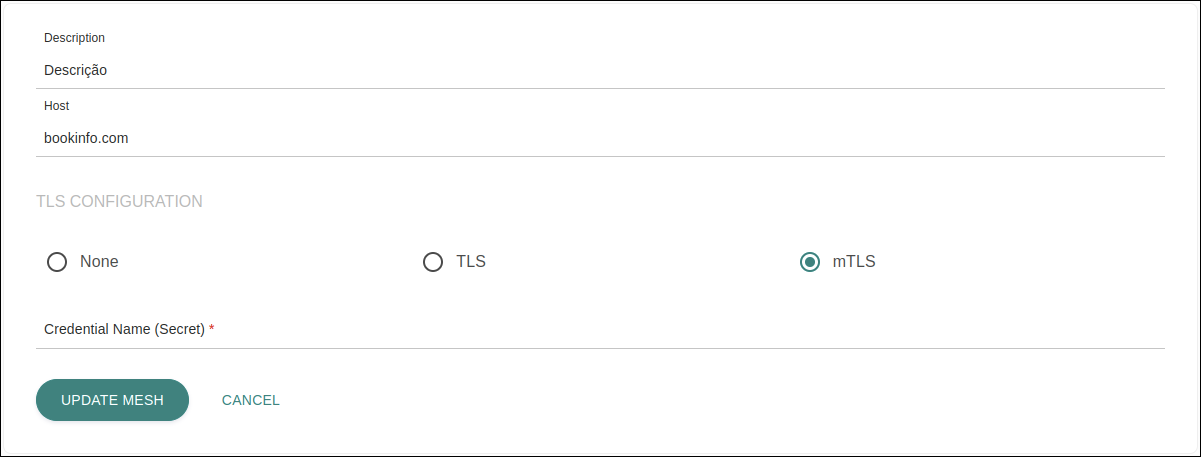
TLS CONFIGURATION: the TLS configurations on this screen refer to the mesh’s ingress gateway, that is, they are related to the authentication that is required of client and server for external requests to be made to the mesh.

None: select this option to expose the mesh as HTTP. In this case, no fields need to be filled in.
TLS: select this option to expose the mesh as HTTPS.
mTLS: optional TLS authentication mode in which both parties need to be authenticated. That is, while the TLS protocol confirms the identity of the server to the client, mutual TLS (mTLS) confirms the identity of the client to the server as well.
If either TLS or mTLS is selected, you will need to insert the value of the credentialName configured on Istio (it’s equal to the ingress gateway secret).
Share your suggestions with us!
Click here and then [+ Submit idea]