Thanks for your feedback!
EDIT
The standard Sensedia Service Mesh installation uses Istio Ingress Gateway to externally expose the services in the cluster. If you want to use another ingress (in case there is another one already installed in the cluster, for example), additional settings in the installation are required so that all the security and traffic control rules are applied.
This page shows how to integrate Ingress NGINX with the Sensedia Service Mesh installation.
Firstly, you need to add the Istio sidecar to the pods of the Ingress NGINX controller, so that all requests coming from it towards the cluster services first pass through the Istio sidecar, which in turn knows and applies the configured rules.
To do this, add the label istio-injection: enabled to the namespace where Ingress NGINX is installed, as in the following example:
apiVersion: v1
kind: Namespace
metadata:
  name: ingress-nginx
  labels:
    istio-injection: enabled
In addition to this label, the sidecar.istio.io/inject: "true" annotation must also be added to the Ingress NGINX controller pods.
If you are using helm for the installation/upgrade, make the following changes to the helm-values.yaml file:
controller:
  podAnnotations:
    sidecar.istio.io/inject: "true"
    traffic.sidecar.istio.io/includeInboundPorts: ""

  admissionWebhooks:
    patch:
      podAnnotations:
        sidecar.istio.io/inject: "false"

defaultBackend:
  podAnnotations:
    sidecar.istio.io/inject: "true"
In addition to the annotation that enables the sidecar to be injected into the pods, the traffic.sidecar.istio.io/includeInboundPorts: "" annotation is also essential for operation.
By default, the sidecar intercepts both incoming and outgoing requests.
Such behavior would cause a conflict with the Ingress NGINX container.
This annotation therefore disables the monitoring of incoming traffic and only monitors outgoing traffic.
Some changes are required to the Kubernetes Ingress objects so that the services are correctly exposed via Ingress NGINX and integrated into Sensedia Service Mesh.
Below is an example of an Ingress object with the appropriate settings:
apiVersion:  networking.k8s.io/v1
kind: Ingress
metadata:
  name: ingress-name
  namespace: ingress-namespace
  annotations:
    # This specification ensures that nginx will use the service's IP for routing instead of the pods'
    nginx.ingress.kubernetes.io/service-upstream: "true"
spec:
  ingressClassName: nginx
  rules:
  - host: "*.pod-info.com"
    http:
      paths:
      - path: /
        pathType: Prefix
        backend:
          service:
            name: pod-info
            port:
              number: 80
As indicated in the example above, the nginx.ingress.kubernetes.io/service-upstream: "true" annotation is necessary to indicate to NGINX that, when forwarding requests, the IP that should be used is that of the service, not that of the pod.
This is necessary to work with advanced deployment strategies in which several deployments of different versions can share the same service, with Sensedia Service Mesh taking care of the traffic management.
Once the Ingress object has been applied, the last settings must be made directly from the Sensedia Service Mesh interface.
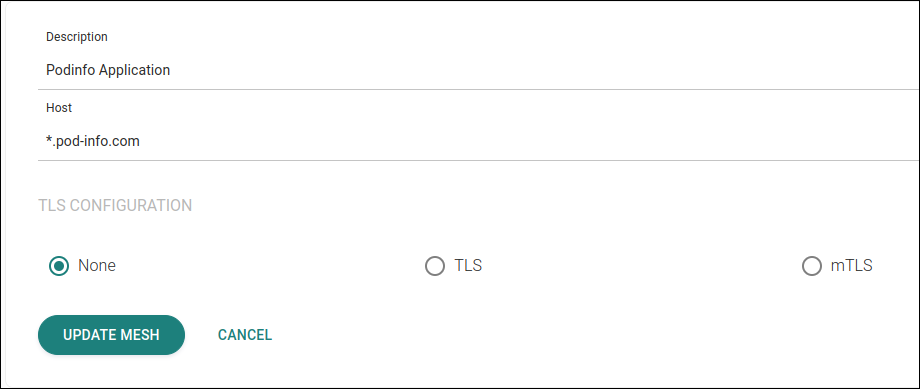
In the Edit Mesh screen, add the application host(s), as in the example below. You can enter multiple hosts separated by commas.
The hosts inserted in this step must be the same as those configured in the Ingress object applied previously.
|
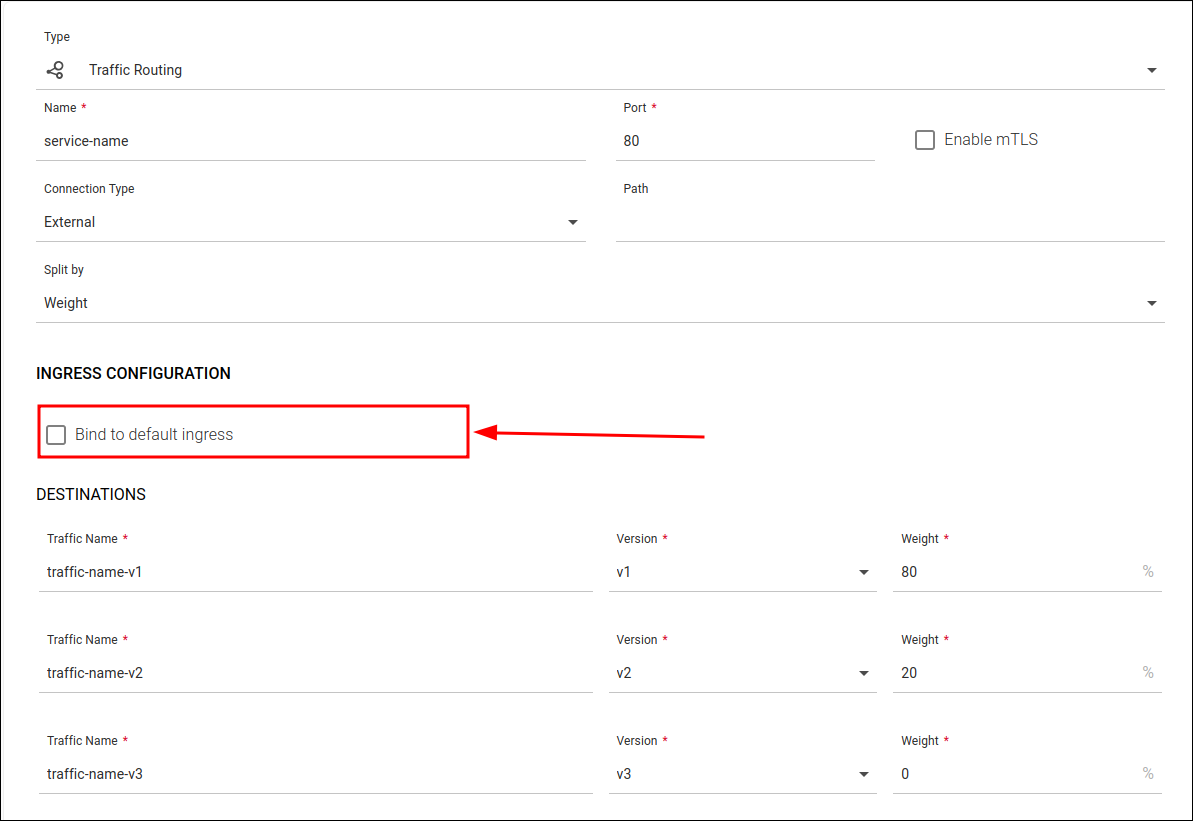
Finally, on the configuration screen for the desired service, create a Traffic Routing rule of type "External".
When configuring the rule, be sure to uncheck the Bind to default ingress field, so that the ingress to be used is not the default (Istio Ingress Gateway), but the Ingress NGINX.
Share your suggestions with us!
Click here and then [+ Submit idea]